
Internationalization with React-Intl

See a simple tutorial of adding internationalization to a small React application with the help of the react-intl library for easy localization to different languages, regions and cultural contexts.
Internationalization, often abbreviated as i18n (where 18 represents the number of omitted letters between “i” and “n”), is the process of designing and developing an application in a way that allows for easy localization to different languages, regions and cultural contexts. It involves separating the user interface and content from the application’s codebase to facilitate easy translation and adaptation.
In a previous article, we discussed the importance of internationalization in web applications and some important steps one can take to get there.
In today’s article, we’ll go through a more practical tutorial of adding internationalization to a small React application with the help of the react-intl library.
React-Intl
React-intl, part of FormatJS, is a popular library used to internationalize React applications. It provides React components and an API to format dates, numbers and strings, including pluralization and handling translations.
It also supports both singular and plural message translation, string substitution and rich text formatting, among other things.
In a React application, we can start by first installing the react-intl library:
npm install react-intl

# or

yarn add react-intl
Defining the Language Messages
To begin introducing internationalization to our app, we’ll first need to define our language messages. This is usually done in JSON format and each language is defined in a separate file.
We’ll create a locales/ folder in the src/ directory. Inside locales/, we’ll create three files: en.json, es.json and fr.json to represent the English, Spanish and French languages.
src/locales/en.json
{
  "app.greeting": "Hello, User!",
  "app.description": "This is a simple react application"
}
src/locales/es.json
{
  "app.greeting": "¡Hola, Usuario!",
  "app.description": "Esta es una simple aplicación de react"
}
src/locales/fr.json
{
  "app.greeting": "Bonjour, Utilisateur !",
  "app.description": "C'est une simple application React"
}
These files will act as our dictionaries, mapping message IDs (like app.greeting and app.description) to the message in the respective language.
Configuring React-Intl
Now, we can set up our application to use react-intl. In our main app file (App.js), we’ll import the necessary components from react-intl as well as the different language message dictionaries we’ve just created.
import { IntlProvider, FormattedMessage } from "react-intl";

import messages_en from "./locales/en.json";
import messages_es from "./locales/es.json";
import messages_fr from "./locales/fr.json";
We’ll then create an object to store all our dictionaries:
const messages = {
  en: messages_en,
  es: messages_es,
  fr: messages_fr,
};
Next, we’ll wrap our app in the <IntlProvider /> component, provided by react-intl, which will provide i18n context to all the components in our app. The <IntlProvider /> component requires two props: locale and messages.
localeis a string value that represents the language locale we want to use in our application.messagesis an object that contains the actual text messages (strings) that we want to display in our application.
To start, we’ll default the locale to English ('en') and reference the english message dictionary we’ve created.
export default function App() {
  const locale = "en"; // default locale

  return (
    <IntlProvider locale={locale} messages={messages[locale]}>
      {/* rest of our app goes here */}
    </IntlProvider>
  );
}
Using Messages
With react-intl now configured, we can use it in our app. We can use the FormattedMessage component from react-intl to display text.
export default function App() {
  const locale = "en";

  return (
    <IntlProvider locale={locale} messages={messages[locale]}>
      <FormattedMessage id="app.greeting" />
      <br />
      <br />
      <FormattedMessage id="app.description" />
    </IntlProvider>
  );
}
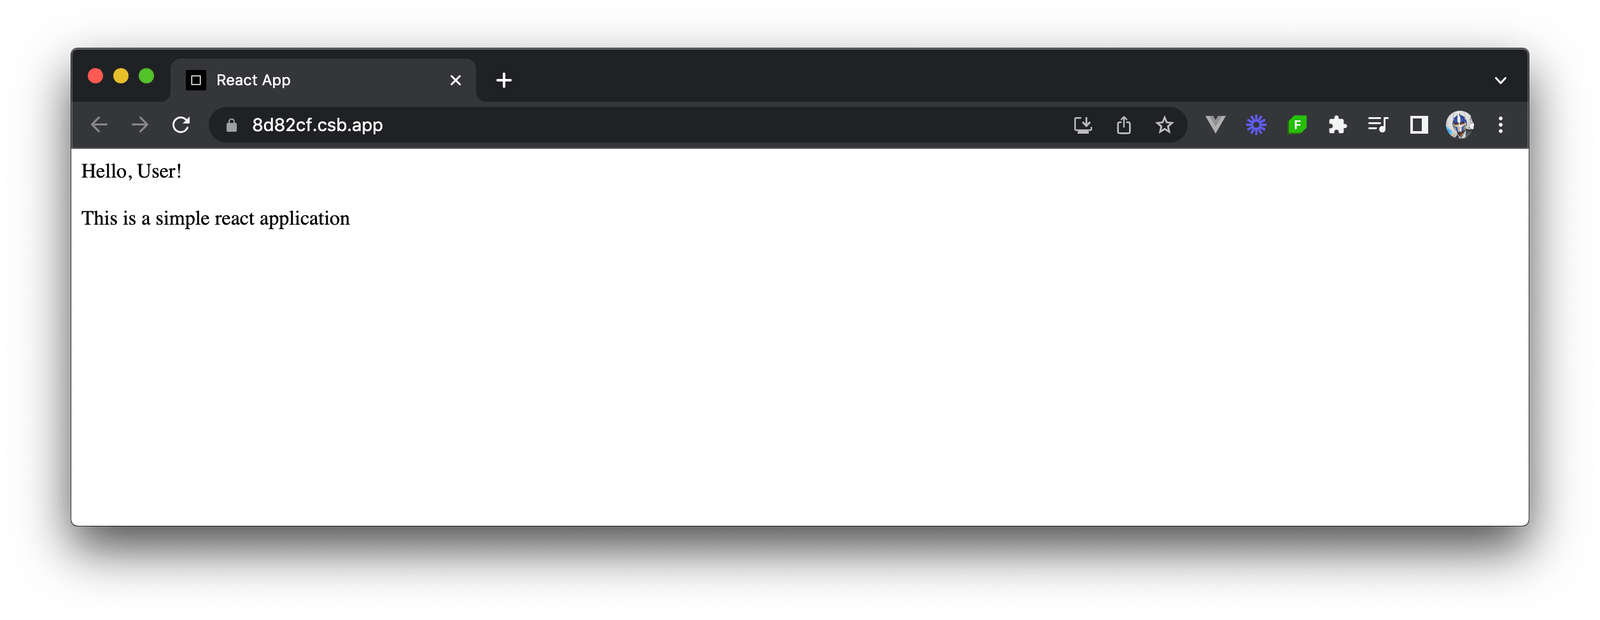
When saving our changes, we’ll be presented with “Hello, User! This is a simple react application” in the browser, as we’re currently using the English locale.
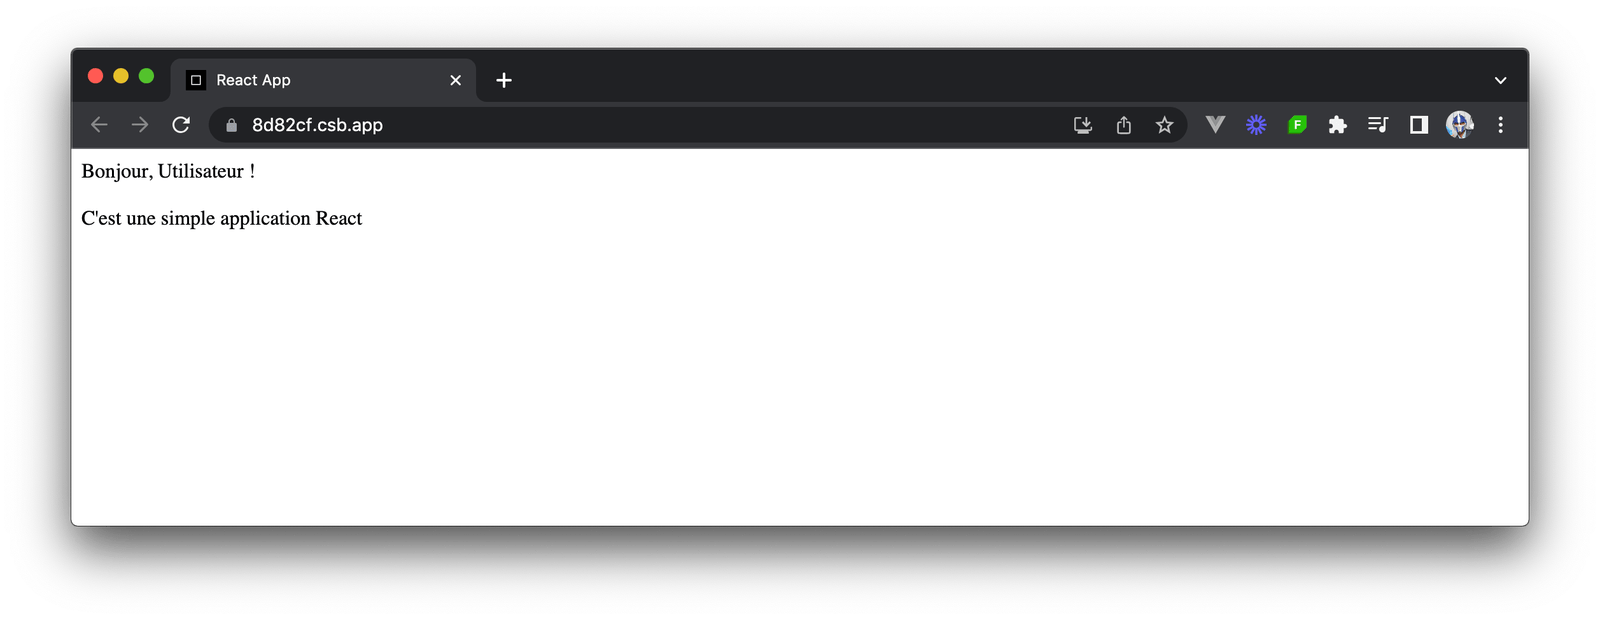
If we were to change the value of the locale variable to a different language like French:
export default function App() {
  const locale = "fr";

  // ...
}
We would be presented with the same “Hello, User! …” message but in French.
Changing Languages
We’ll want to provide the end user the capability to switch between different languages. To achieve this, we can consider storing the locale in our <App /> component’s state.
import { useState } from "react";
// ...

export default function App() {
  const [locale, setLocale] = useState("en");

  // ...
}
We can then add buttons to our app that lets the user switch between the English, Spanish and French locales.
import { useState } from "react";
// ...

export default function App() {
  const [locale, setLocale] = useState("en");

  return (
    <IntlProvider locale={locale} messages={messages[locale]}>
      <FormattedMessage id="app.greeting" />
      <FormattedMessage id="app.description" />
      <div>
        <button onClick={() => setLocale("en")}>English</button>
        <button onClick={() => setLocale("es")}>Español</button>
        <button onClick={() => setLocale("fr")}>Français</button>
      </div>
    </IntlProvider>
  );
}
When we click on a certain button, the locale state of our app updates to the selected locale, triggering a re-render of the IntlProvider component with the new locale value and data. Consequently, the text in our application that’s managed by the react-intl library updates to reflect the chosen language.
You can see the running application in the following CodeSandbox link.
The user now has a dynamic way to switch between different languages without having to refresh the entire page!
Conclusion
In today’s article, we showed a simple example of introducing internationalization to a React application. There are are more advanced features to explore in react-intl, including handling more complex string translations, number formatting, date and time formatting, and handling plurals and genders, which are important aspects in many languages.
Building an app with internationalization in mind from the outset is generally easier than trying to retrofit it later. So even if you’re only targeting a single language region to begin with, it’s worth considering from the start.
Looking to build with i18n baked into your components? The Internationalization package from Progress KendoReact applies the desired cultures by providing services and pipes for the parsing and formatting of dates and numbers.

Hassan Djirdeh
Hassan is currently a senior frontend engineer at Doordash. Prior to Doordash, Hassan worked at Instacart and Shopify, where he helped build large production applications at-scale. Hassan is also a published author and course instructor and has helped thousands of students learn in-depth fronted engineering tools like React, Vue, TypeScript and GraphQL. Hassan’s non-work interests range widely and, when not in front of a computer screen, you can find him at the gym, going for walks or running through the six.
Related Posts
Comments
All articles
Topics

Latest Stories
in Your Inbox
Subscribe to be the first to get our expert-written articles and tutorials for developers!
All fields are required