By themselves, AI agents can be useful. Integrated into an application, however, a custom AI agent can provide users with the ability to navigate the application and to better understand the business area that the application is part of.
Progress provides multiple tools for embedding AI agents into your application’s UI. In previous posts, for example, I’ve looked at Progress Telerik and Kendo UI AI Prompt components in JavaScript [in post 5](Creating a Custom AI Agent with Telerik Tools: Creating an Interactive UI in JavaScript) and Blazor [in post 4](Creating a Custom AI Agent with Telerik Tools: Crafting an Interactive Blazor UI). In this post, I’m going to address two different UI scenarios where the AI Prompt might not be your best choice.
The first scenario is when your AI agent isn’t the point of your application—it’s just a useful tool that your users can invoke when they need it. The AI Prompt component isn’t necessarily your best choice there because, by default, the AI Prompt takes over a significant portion of your application’s UI (though you can customize that using the AI Prompt’s various templates). Out of the box, however, the Inline AIPrompt provides a compact interface that users can bring up when they need your agent and, equally important, dismiss it when they don’t need your agent.
The AI Prompt component also assumes a specific workflow, with the user alternatively entering a prompt and viewing the current output from your agent (along with a history of responses to previous prompts). But when the interaction with your AI agent is the point of your application, you might want to create more natural back-and-forth conversational interaction between your user and the agent. The Telerik Chat component will let you do that, again, out of the box.
I’m going to show how to use both in this post.
By the way (which means you can skip this paragraph—it’s all background): In this post, I’m assuming the existence of a custom AI agent that provides application-specific support to your users. That means that you’ve [selected a Large Language Model](reference to Creating a Custom AI Agent with Telerik Tools: Configuring an LLM for Azure or Ollama) (LLM) for processing your user’s input, loaded your own content into your [custom AI agent](reference to Creating a Custom AI Agent with Telerik Tools: Loading and Accessing Your Agent’s Content) (about 10 lines of code) and written another 10 lines of code to tie your agent into your application. For a JavaScript application, you’ll need to wrap that code in a web service (I covered the, literally, two lines of code to make that happen at the start of a [post on using the AI Prompt component from JavaScript](reference to Creating a Custom AI Agent with Telerik Tools: Creating an Interactive UI in JavaScript)) and write the five lines of JavaScript code to all your agent. That probably sounds like a lot. It is, however, only about two dozen lines of code to give you an AI-enabled application with domain-specific knowledge.
Letting the User Access Your AI Agent When They Want It
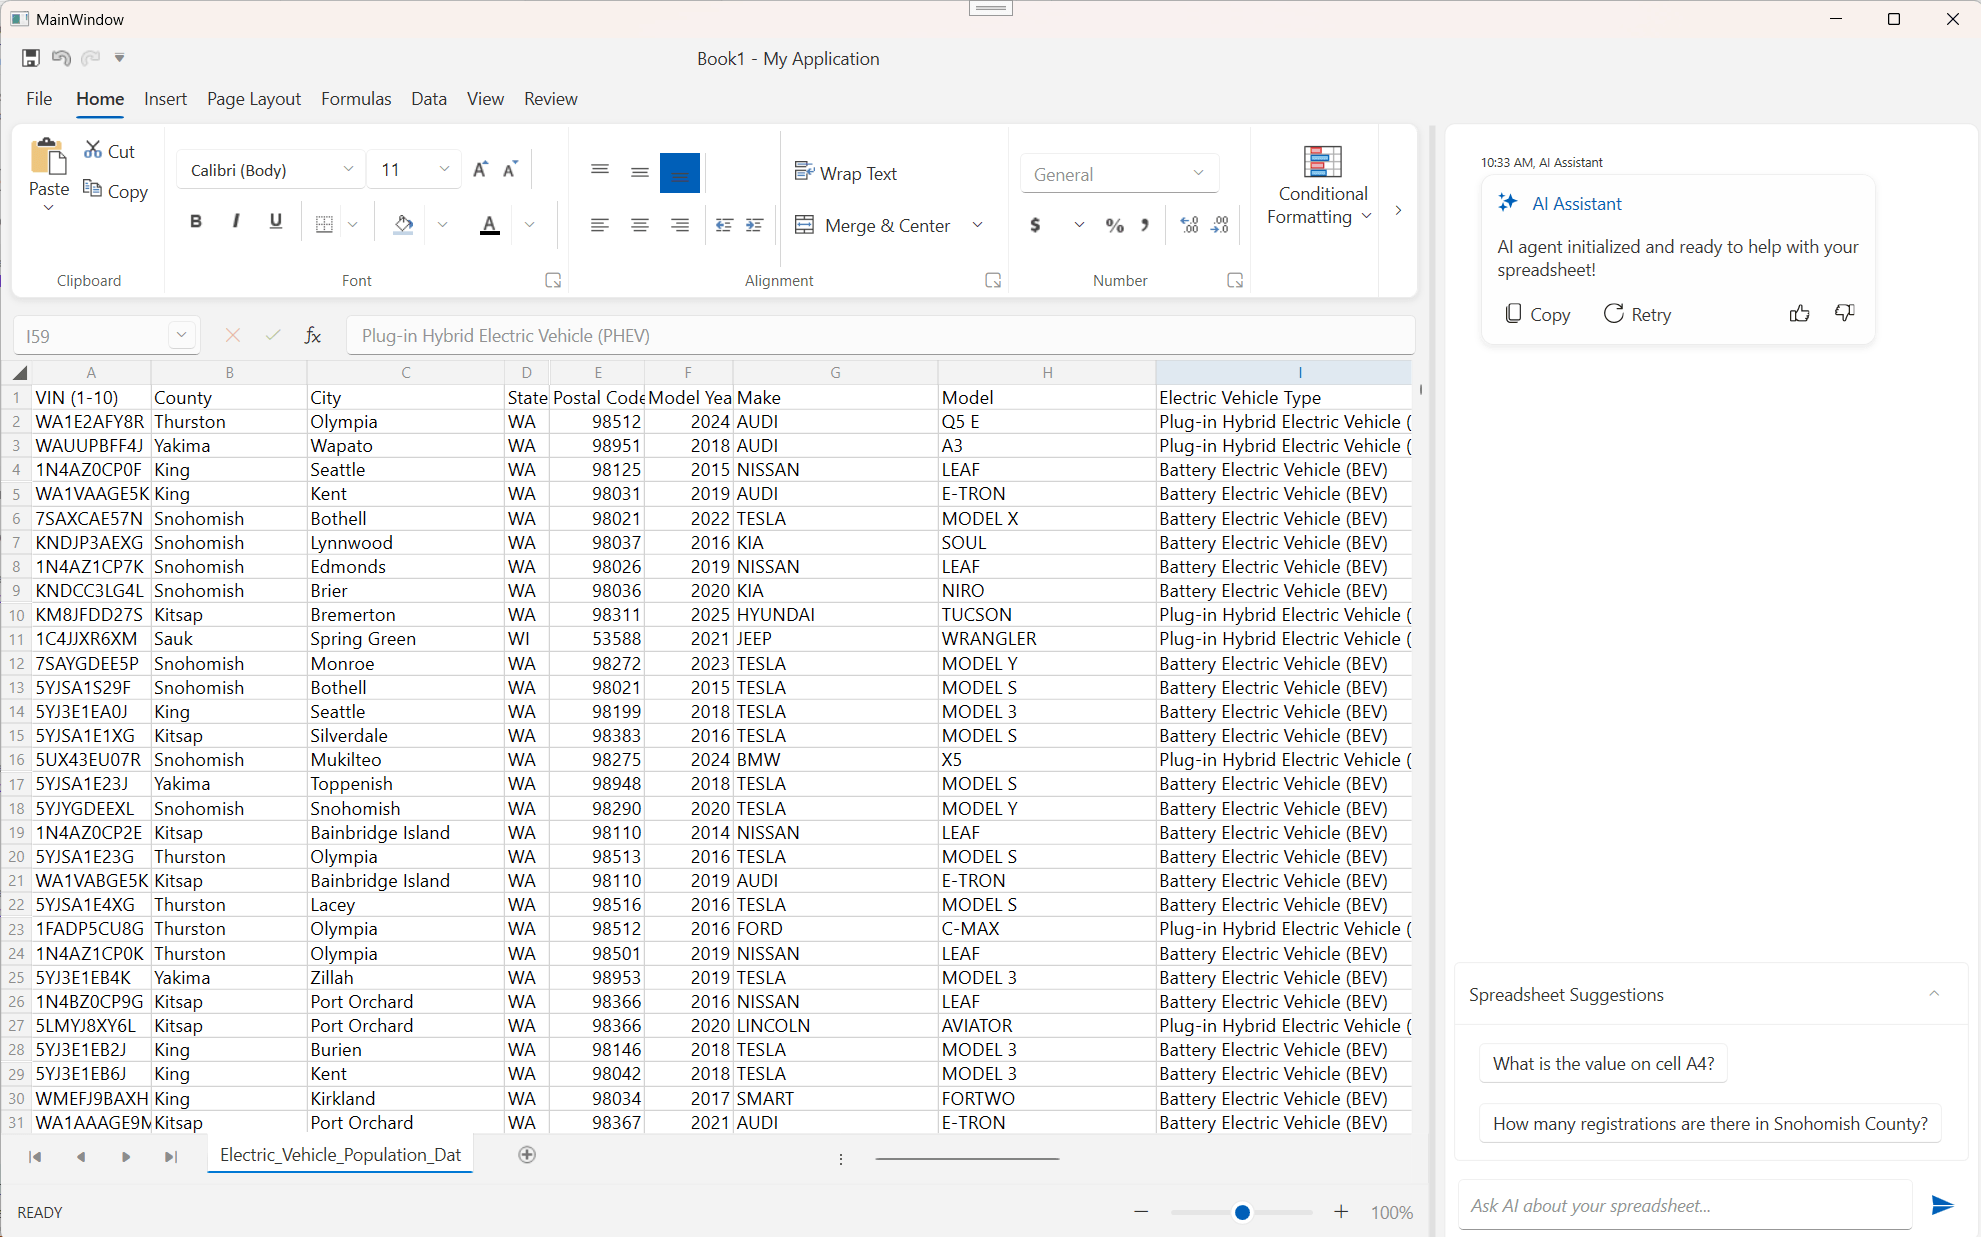
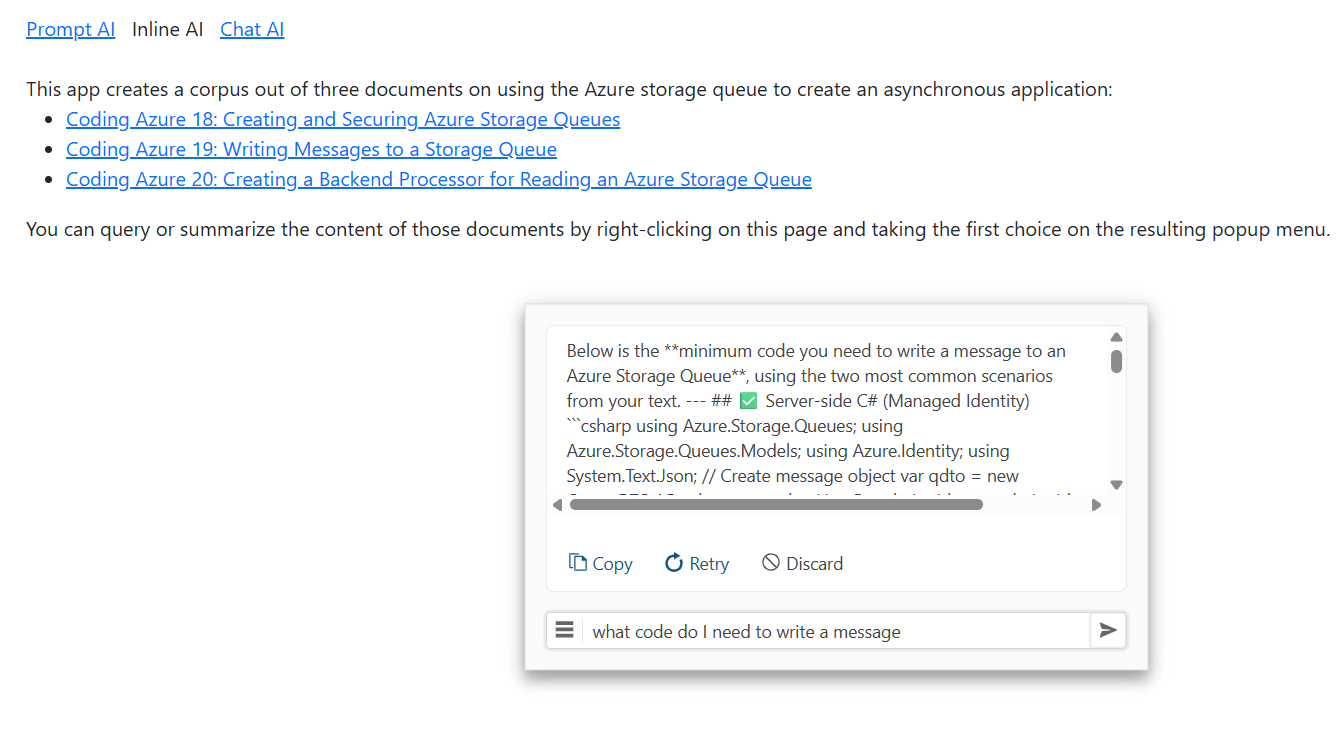
I’m going to start with the scenario where you want to enable your user to invoke your AI agent when they need it and ignore the agent the rest of the time. The Inline AIPrompt lets you do that: implement a minimal user interface that pops up when the user needs to send a prompt to your agent and then review your agent’s response:
I’m going to use the Kendo UI for jQuery Inline AIPrompt in this case study, but there are also versions of the component for React, Angular, ASP.NET Core, ASP.NET MVC and Blazor.
Configuring the Inline AI Prompt
Your first step is to add the Inline AIPrompt to your webpage with a <div> element that has its id attribute set to some name (I used customAgent):
<div id="customAgent" />
You can place that <div> element wherever you want in your page’s body (I put it near the top of my application’s HTML, but it really doesn’t matter).
Next, you need to configure your Inline AIPrompt component. You do that by writing a jQuery command to find your <div> element, passing the name you put in the <div> element’s id attribute.
You then call the kendoInlineAIPrompt function from the retrieved element, passing a configuration object. The kendoInlineAIPrompt function returns an object and you then call that object’s data function, passing the string kendoInlineAIPrompt. That, in turn, will return an object you can use to manage the component.
You only want to do this configuration once, so you should tuck that code into jQuery’s ready function. That means you’ll end up with code like this to set up your component:
$( () =>
{
  $("#customAgent").kendoInlineAIPrompt(
    {
      //…configuration object
     }).data("kendoInlineAIPrompt");
}
In the customization object that you pass to the kendoInlineAIPrompt function, you need to set two properties on the object:
isStreaming: Set this totrueto let you update the component’s UI with the output from your custom AI agentpromptRequest: Set this to a function to be called when your user enters a prompt and clicks the “go” button in the Inline AIPrompt’s UI
By the way, you don’t have to put a function in the promptRequest property. You can configure the Inline AIPrompt to call an LLM directly by setting your configuration object’s service and systemPrompt properties. Using the promptRequest function, however, simplifies calling a custom AI agent.
A minimal implementation might look like this:
let ca = $("#customAgent").kendoInlineAIPrompt(
 {
   isStreaming: true,
   promptRequest: async function (req) {
     //…function code
   }
 }).data("kendoInlineAIPrompt");
Your promptRequest function will be passed a parameter. From that parameter, you can retrieve the user’s prompt by reading a property cleverly called prompt. Once you have the user’s prompt, you can pass it to your agent and catch your agent’s response. In my case, that means passing the prompt to my JavaScript function that calls my AI agent’s web service.
Once you get a response from your agent, you need to add it to the Inline AIPrompt’s UI. To do that, you just need call the component’s updatePromptOutputContent function, passing the output from your agent.
Since the JavaScript function that calls my agent is called asyncAppAgent and returns the agent’s response as a string ready to add to the Inline AIPrompt’s UI, my promptResult function is a single line of code (my web service function is asynchronous so I have to use the await keyword when calling it and flag the function as async):
ca = $("#customAgent").kendoInlineAIPrompt(
  {
    isStreaming: true,
    promptRequest: async function(req)
      {
        this.updatePromptOutputContent(
          await asyncAppAgent(req.prompt));
      }
  }).data("kendoInlineAIPrompt");
There’s more you can do with the component (for example, as with the AI Prompt component, you can give the user some predefined commands to use with the component). But before you can do any of that—because, by default, the component isn’t visible—you need give your users a way to display the Inline AIPrompt when they want it.
Opening the Prompt
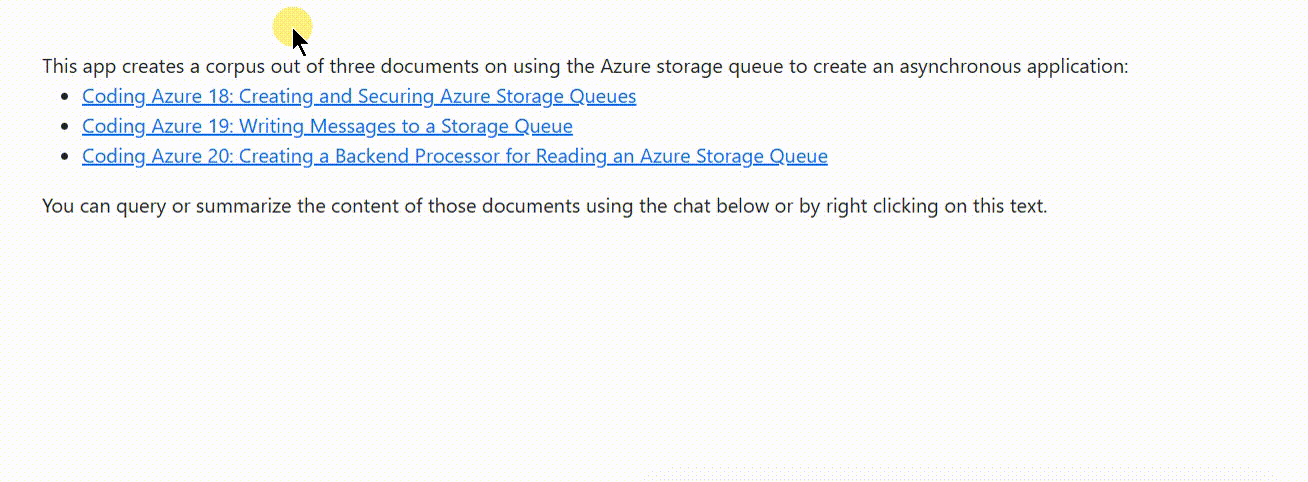
Since I’m trying to minimize the UI footprint for my agent’s interface, I decided to use the Kendo UI for jQuery Context Menu to let the user invoke my prompt (you could just have a button on your page that opens Inline AIPrompt).
Since I was using the context menu (which implies giving the user choices), I also decided to give the user the ability to choose between two custom agents:
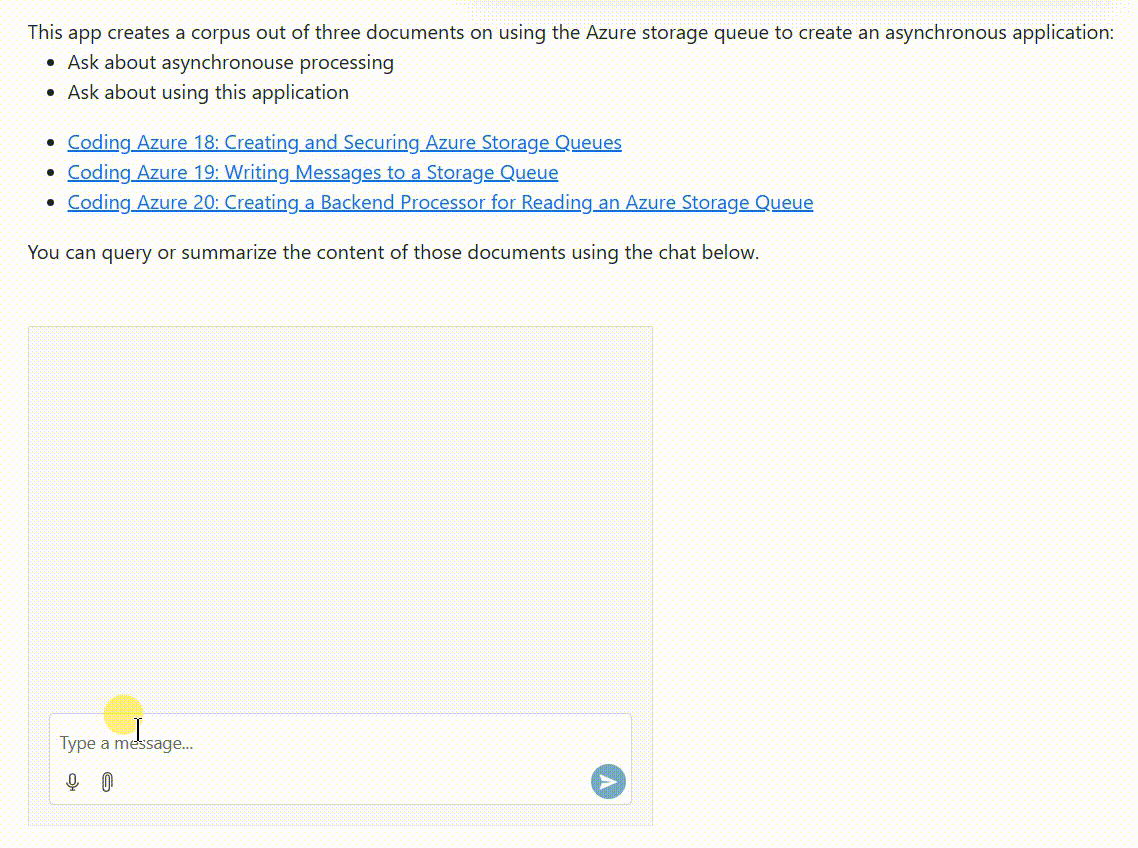
- One agent would be loaded with content about using the application (e.g., the application’s user guide, enhanced with a download of questions and responses from the application’s end user forum)
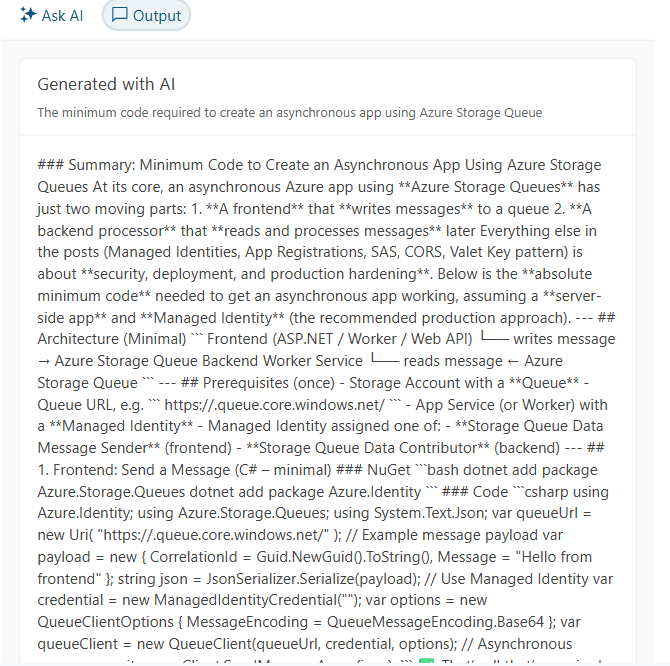
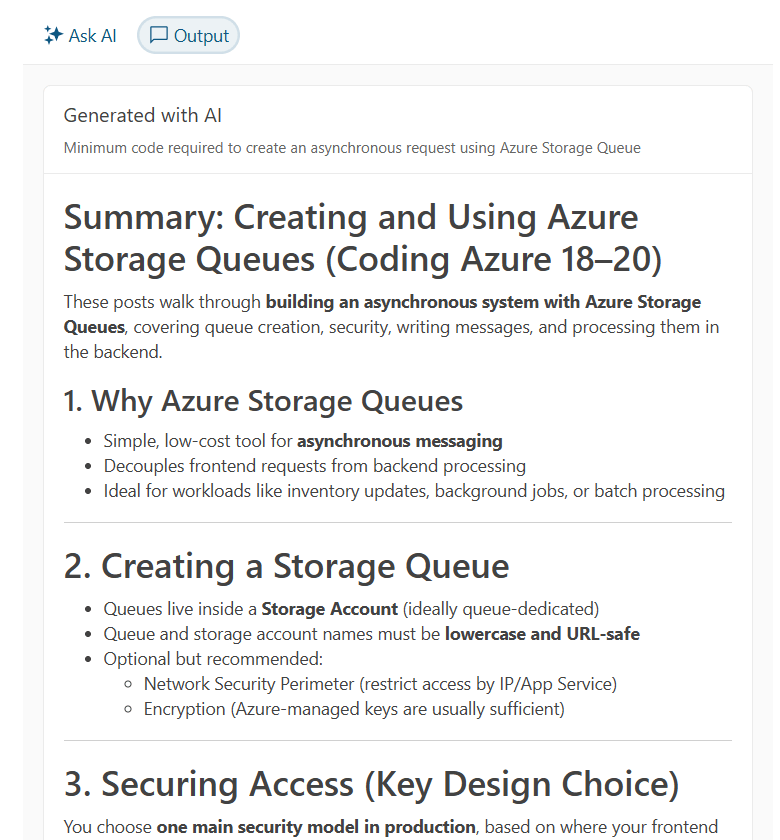
- The other agent would be loaded with content about the application’s topic area (in my case, that topic area is creating an asynchronous application and the content is from another series of posts on Coding Azure I wrote).
The first step in using the context menu is to add a <ul> element anywhere on your page and set its id attribute to some name (in this case, I picked selectAgentMenu).
Within that <ul> element, you use <li> elements to define your popup menu’s choices. I also (for reasons that will become obvious), assigned values to the <li> elements’ name attributes:
<ul id="selectAgentMenu">
  <li name="Ask">Ask about asynchronouse processing</li>
  <li name="Help">Ask about using this application</li>
</ul>
Next, you need to configure your content menu, this time by calling the kendoContextMenu function on the <ul> element that defines your menu. In the configuration object you pass to this function, you must set its select property to a function that will be called when a user clicks a choice in the menu. That function is passed a parameter with an item property that holds the <li> element that defined the menu choice the user selected.
In this code, I use the element’s attr function to retrieve the element’s name attribute and use that value to set a variable I called mode. Later on, I’ll use that mode variable in my Inline AIPrompt’s promptRequest function to call the right AI agent. I then use the variable created when I configured my Inline AI Prompt component to display the component by calling the its open method:
let mode = "";
$(function ()
{
  $("#selectAgentMenu").kendoContextMenu(
    {
      select: function (e) {
        mode = $(e.item).attr("name");
        ca.open();
      }
});
With my context menu in place, I can enhance my promptRequest function to pick the AI agent, based on the user’s menu choice:
promptRequest: async function(req) {
  switch (mode)
  {
    case "Ask":
    this.updatePromptOutputContent(
    await asyncInfoAgent(req.prompt));
    break;
    case "Help":
    this.updatePromptOutputContent(
    await appHelpAgent(req.prompt));
    break;
  }
}
The user can dismiss the component by clicking anywhere on the webpage, so using the resulting interface looks like this:
At this point you have an interface to your AI agent that appears and disappears as the user needs it.
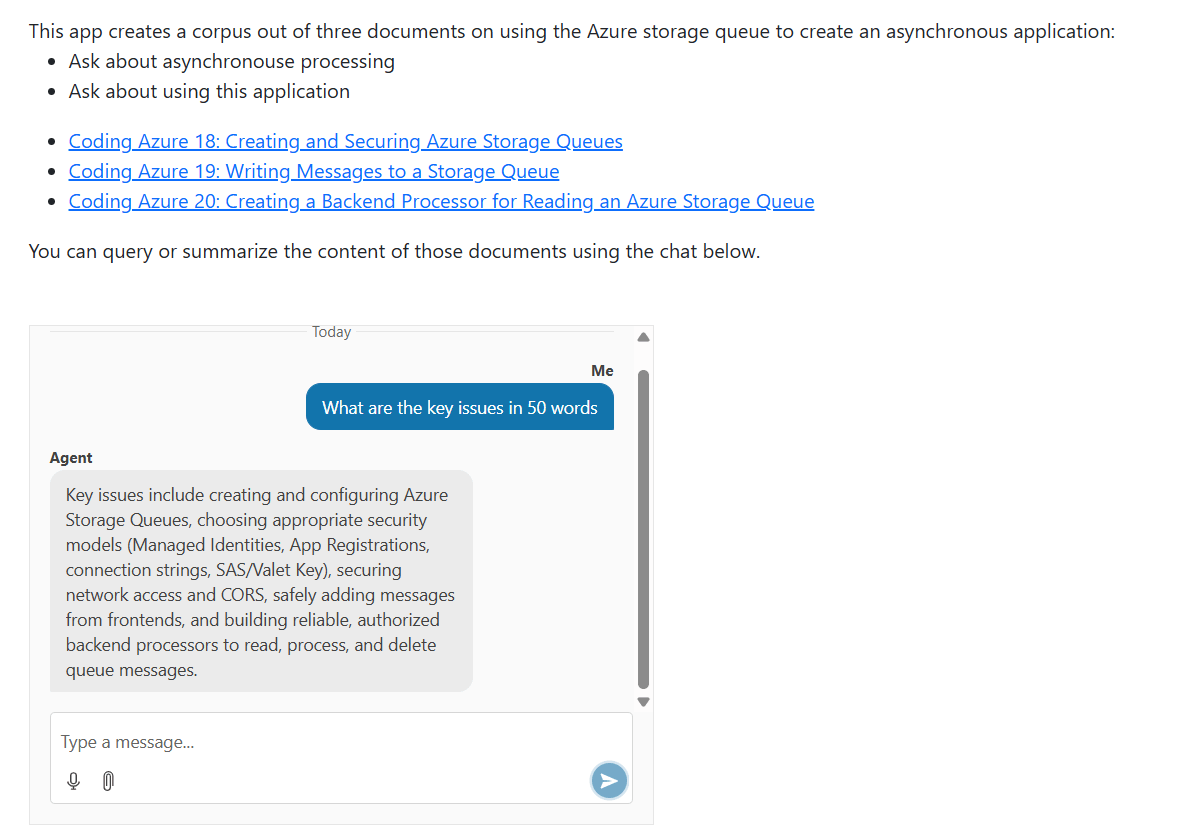
Conversational AI
Sometimes, however, you want a UI that allows your user to have a conversation with your agent. You can enable Kendo UI for jQuery Chat component for that (and, again, versions of the Chat component exist for multiple other platforms). The component creates a chat UI familiar to your user, with a textbox at the bottom for your user to enter their prompt and a chat history above that to display the user’s prompts and the agent’s responses:
Your first step is to decide where on your page you want your chat dialog to appear and to add a <div> element there, with the <div> element’s id attribute set to some name (I used dialogAgent):
<div id="dialogAgent" />
After that, you need to configure your chat dialog by using a jQuery query to find your <div> element and call the kendoChat function from it, passing a configuration object. In the configuration object, you need to set its sendMessage property to a function to be called when your user enters a prompt. In that function, you’ll call your agent and update the chat with your agent’s response.
You only want to configure your chat once, so you should wrap that code in jQuery’s ready function, like this:
$(function ()
{
  $("#dialogAgent").kendoChat({
    sendMessage: (e) => {
  //…function
  }
  });
});
Rather than using a function in the sendMessage property, you can configure your chat component to call an LLM directly by setting the configuration object’s aiServiceUrl property. Using a function in the sendMessage property, however, simplifies calling a custom agent.
Now you need to write the sendMessage function that will send a message to your agent. You function will be passed a parameter that has two useful properties:
message: You use this property both to retrieve the user’s prompt and to manage the display of the user’s prompt in the chat history panesender: Use this to add the response from your agent to the chat history (your user’s prompt will be added to the chat history automatically)
In your sendMessage function, you need to set the authorName property on the parameter’s message property. That controls the label displayed in the chat history window with your user’s prompts. I picked Me:
$("#dialogAgent").kendoChat({
  sendMessage: (c) => {
  c.message.authorName = "Me";
  //…more
}
You can retrieve the user’s prompt from the text property on the object in the parameter’s message property. You then pass that prompt to your agent (I used the JavaScript function I wrote to call my agent’s web service) and catch your agent’s response.
To add the agent’s response to the chat history, you call the postMessage of the object in the sender property of the parameter passed to your function. You pass the postMessage property an object with three properties set:
authorId: A unique identifier to distinguish your user’s prompt from your agent’s responsesauthorName: The name that will be displayed with the agent’s response in the chat historytext: The response from your agent
That code is also pretty short:
sendMessage: async (e) => {
  e.message.authorName = "Me";
  e.sender.postMessage(
  {
    authorId: "Agent",
    authorName: "Agent",
    text: await asyncInfoAgent(e.message.text)}
});
Your user can now interactively query your AI agent to extract whatever information you need.
There’s more you can do here (creating a context-aware conversation by using state management to store message history and including that in your user’s requests, for example). But, even with this simple implementation, you’re ready to let your user have a conversation with your agent.
There are, at least, three scenarios when you’ll want to integrate an AI-enabled component into your application’s UI: when the interaction with your agent is the primary point of your application, when your AI agent is not the primary part by “just another part” of your application, and when your users will only occasionally need to access your agent (and these are just points on a continuum).
All three of the Progress Telerik and Kendo UI “UI for AI” components—Chat, AIPrompt and Inline AIPrompt—support those three scenarios (and all the points in between). Picking the right component, however, will simplify your code and let you get your application up and running faster.