If you’ve ever faced the task of migrating a WinForms application from standard Microsoft controls to Progress Telerik UI for WinForms, you know the drill. Open a form, find a button, replace it with RadButton, update the namespace, rename a handful of properties, hope you didn’t miss anything in the designer file, build, fix errors; repeat. For a simple form with a dozen controls, that’s manageable. For an application with multiple forms, user controls and hundreds of control instances, it’s a time-sink that nobody looks forward to.
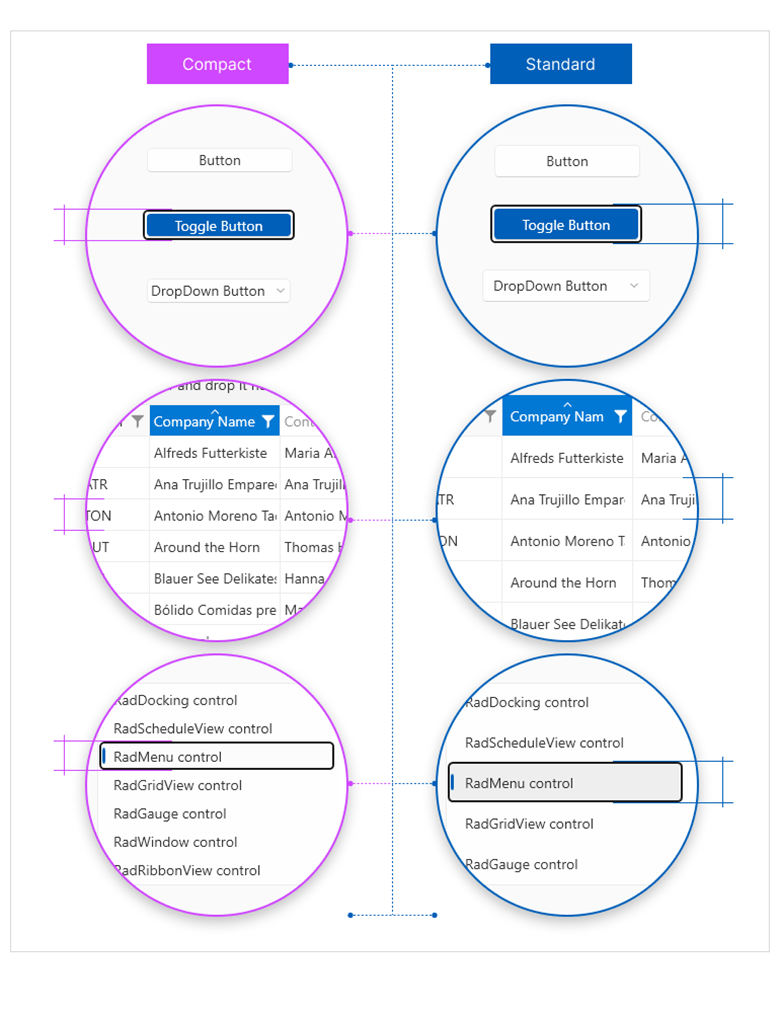
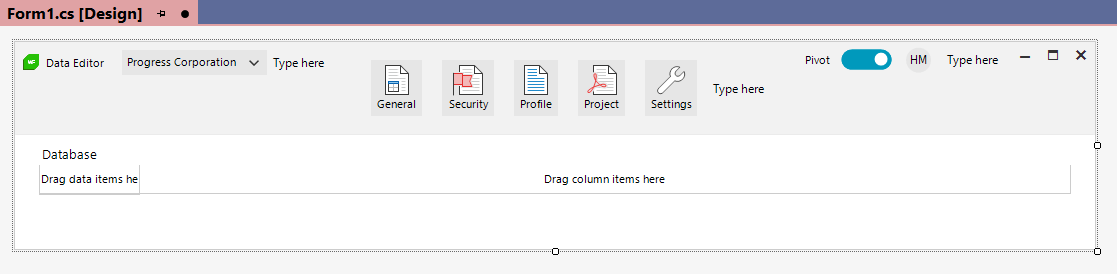
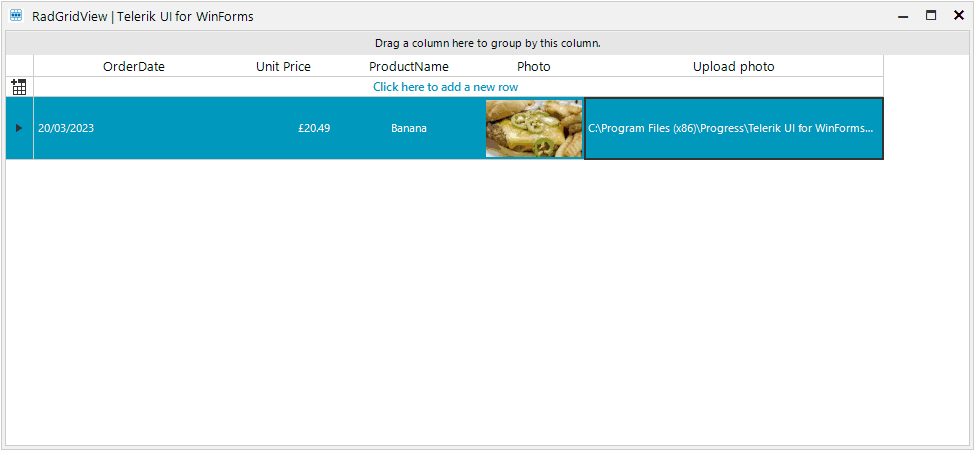
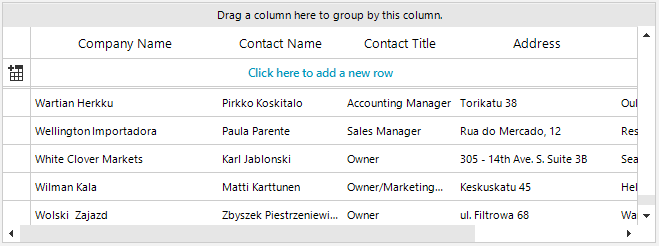
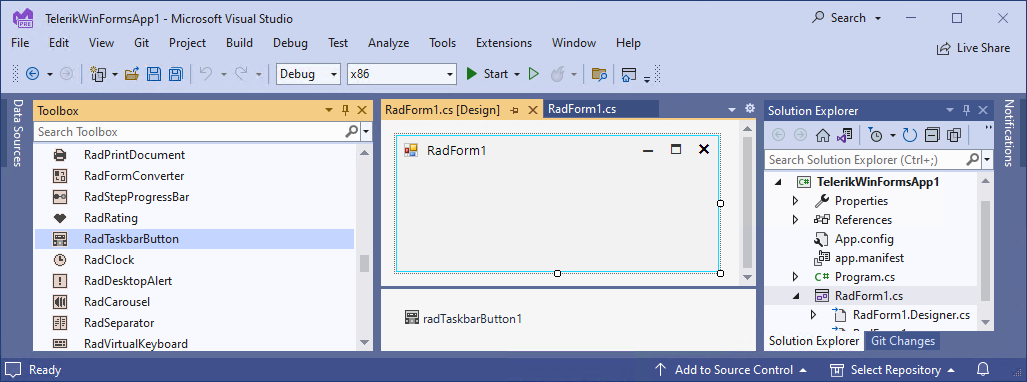
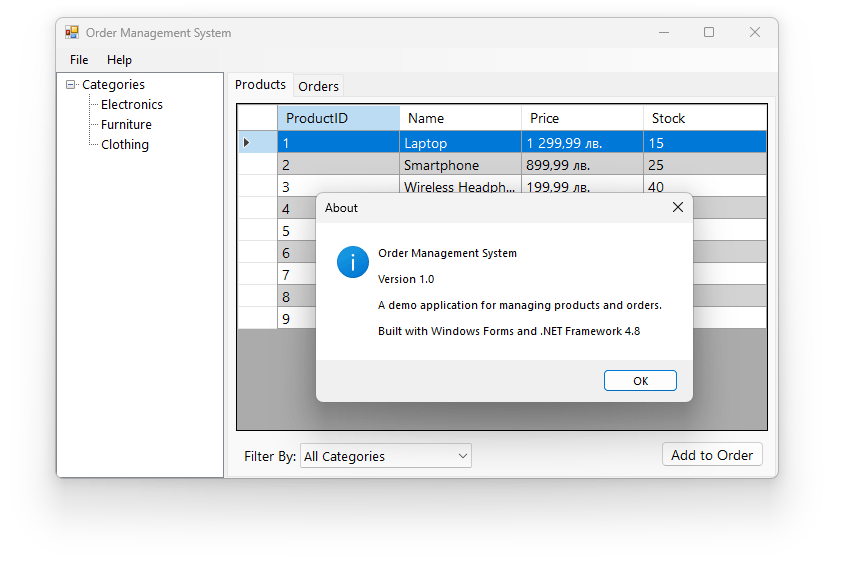
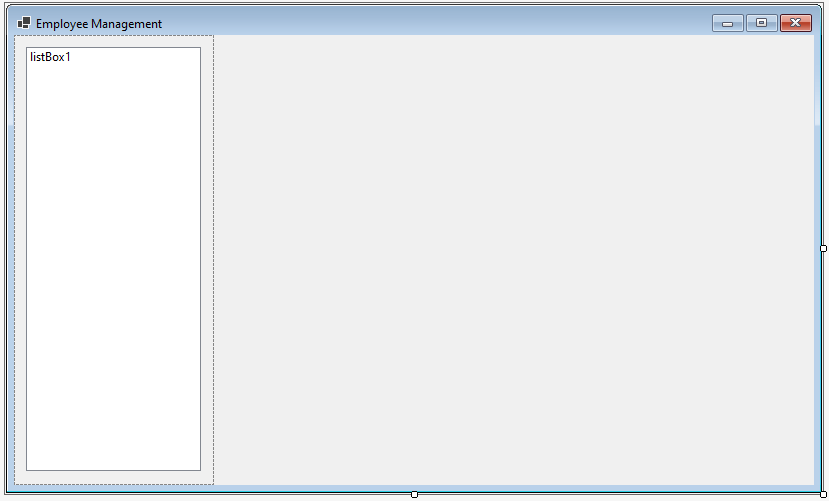
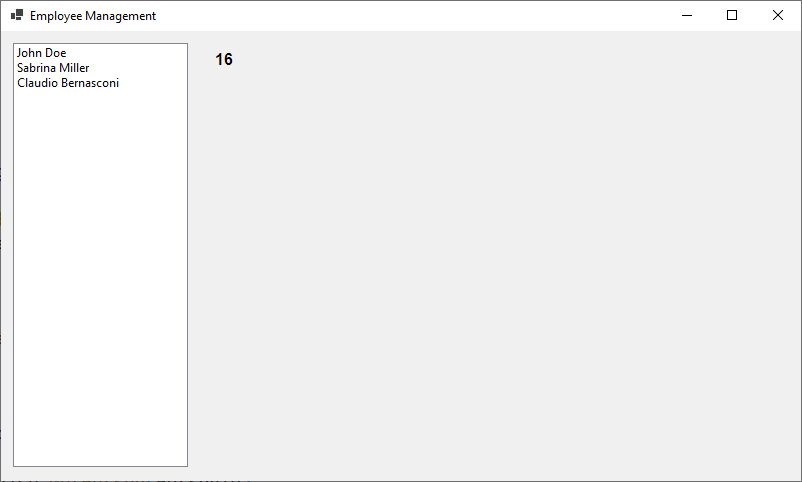
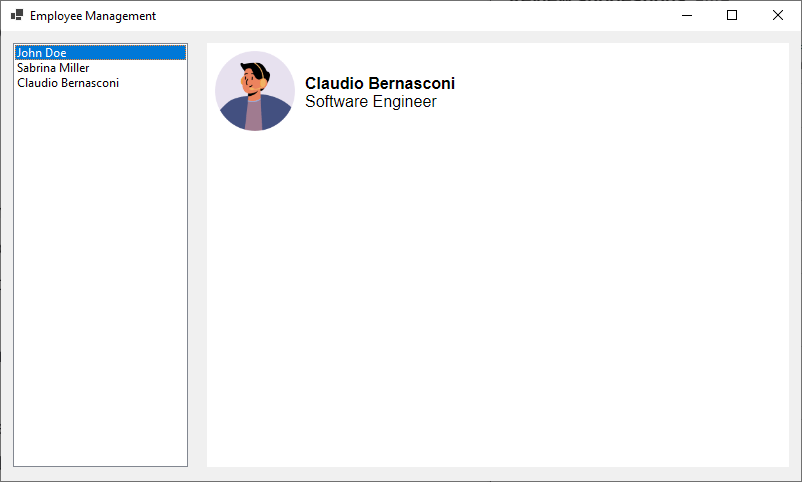
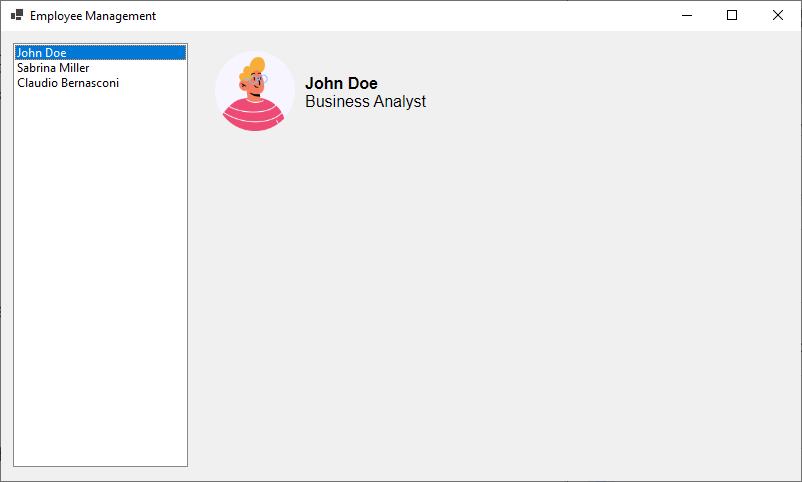
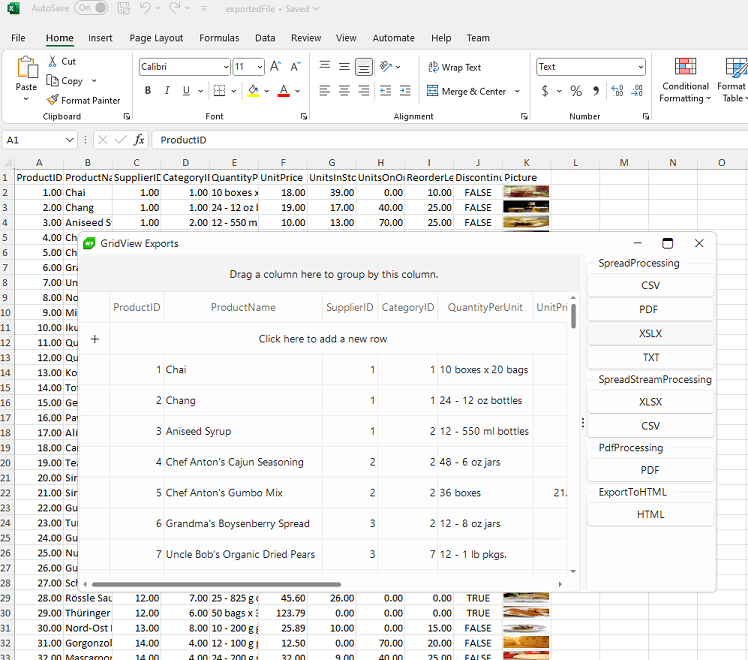
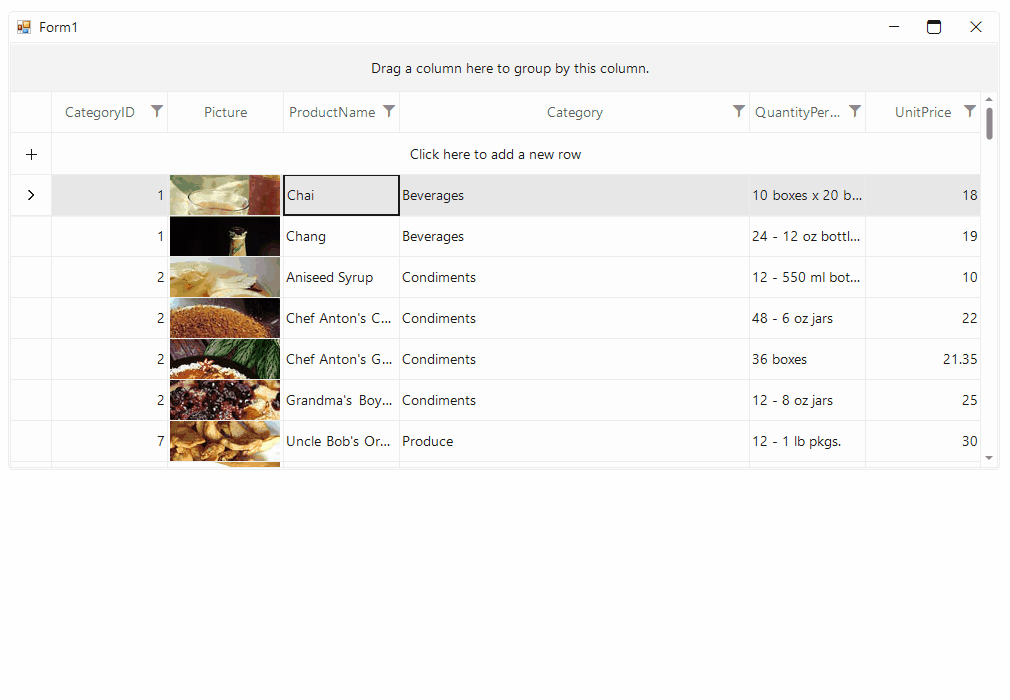
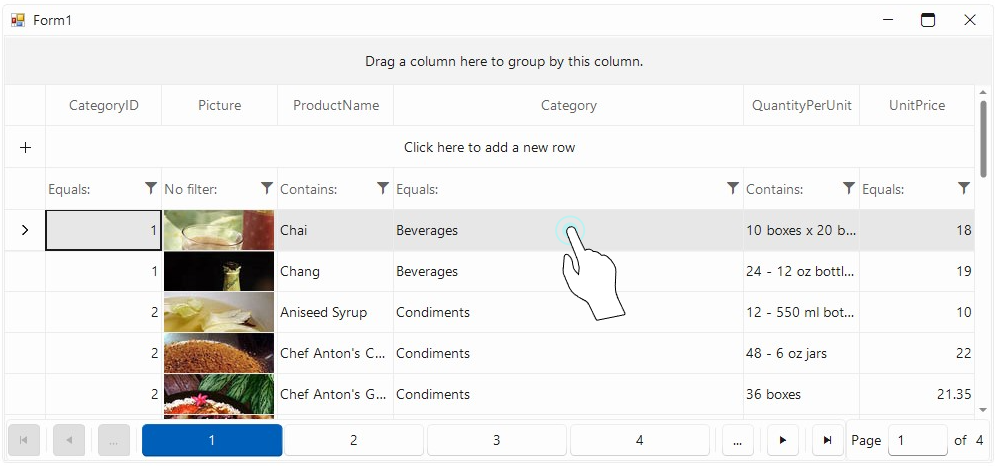
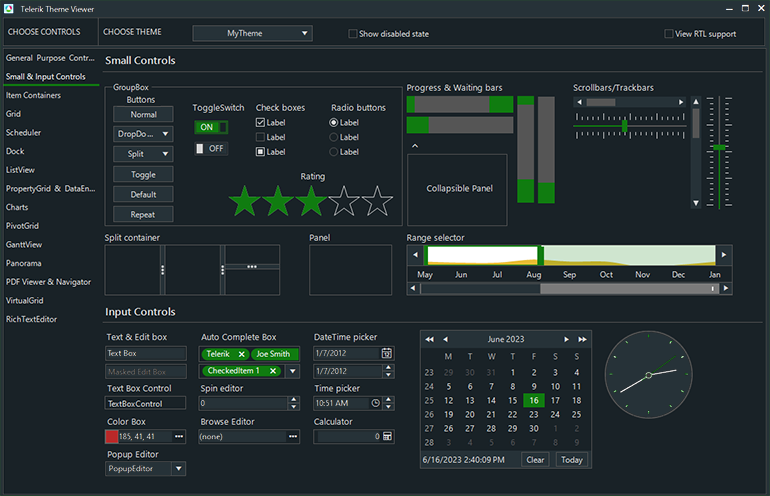
Imagine that you have an existing application built with the Microsoft controls—even a very simple one, like the one below—but the manual effort and domain expertise it requires converting it to Telerik UI kept it out of reach. Well, that changes now.
What if you could let AI handle the heavy lifting? That’s exactly what we built. The Telerik WinForms Converter is a new tool integrated into our MCP Server that automates WinForms-to-Telerik migration. It handles Microsoft WinForms control types, runs right inside your IDE and uses Roslyn for surgical, deterministic code transformations. In this post, I’ll walk you through why we built it, how it works and the value it brings.
Why: Can’t I Just Ask an LLM?
Fair question. AI coding assistants are excellent at many tasks, so the first thing we explored was: can an LLM just do this migration from scratch?
We tested all leading LLM models on real WinForms migration scenarios. The results were consistent, and consistently problematic. Almost all models got the Telerik references wrong on multiple attempts.
But wrong packages were just the beginning. The lack of structured guidance was a big problem. Some models decided to stop the conversion mid-process, leaving the application in a non-stable state. Others created stub classes—empty wrappers like public class RadButton : Button { }—that compiled successfully but had zero Telerik functionality.
Quality was also an issue. Many models missed the non-obvious patterns inside .Designer.cs files, where serialized control declarations follow conventions that aren’t documented in typical training data.
The takeaway? LLMs are great at coding, but WinForms migration requires domain-specific knowledge that pure language models simply don’t have. The control mappings, property translations, designer serialization patterns and container-aware type resolution—these need to be encoded deterministically as expert tooling, and not left to probabilistic generation.
How: The Converter in Action
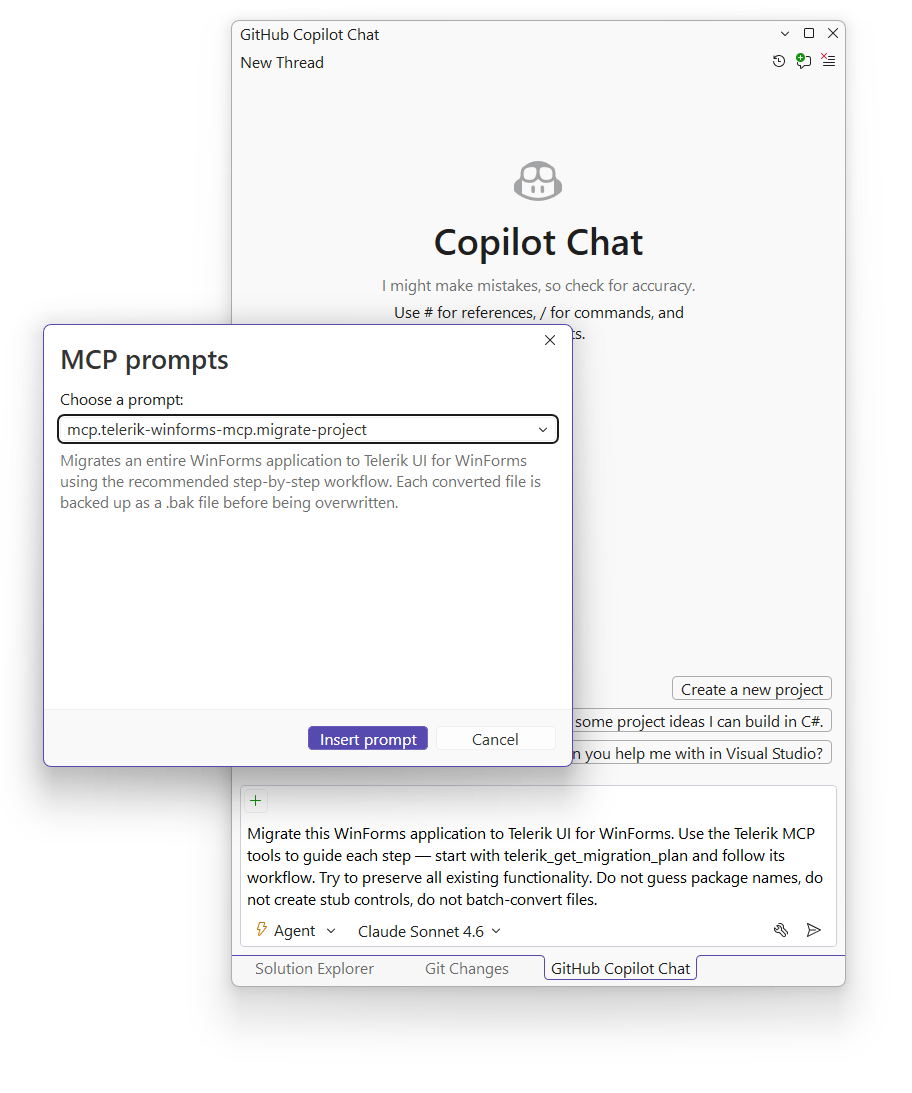
The Telerik WinForms Converter is a Roslyn-based engine integrated into the Telerik WinForms MCP Server. It works in Visual Studio, VS Code with GitHub Copilot in Agent mode, Copilot CLI or any other MCP-compatible AI host application. You configure the MCP server, open Copilot Chat, select a migration prompt, and the AI agent takes care of the rest.
We have tools that return a strict migration plan, do a project analysis, help add Telerik references and also set up a modern theme. As for our star, the converter tool itself, under the hood, it parses your C# or VB.NET source code into an Abstract Syntax Tree using Roslyn, then walks the tree and applies precise, rule-driven transformations. It knows that a DataGridView becomes a RadGridView, that DataPropertyName maps to FieldName and that DataGridViewAutoSizeColumnsMode translates to GridViewAutoSizeColumnsMode.
Here’s what a typical conversion looks like:
Before:
private System.Windows.Forms.DataGridView productsGrid;

this.productsGrid.AutoSizeColumnsMode = DataGridViewAutoSizeColumnsMode.Fill;
this.productsGrid.Columns.AddRange(new DataGridViewColumn[] {
this.nameColumn,
this.priceColumn
});
After:
private Telerik.WinControls.UI.RadGridView productsGrid;

this.productsGrid.AutoSizeColumnsMode = GridViewAutoSizeColumnsMode.Fill;
this.productsGrid.Columns.AddRange(new GridViewDataColumn[] {
this.nameColumn,
this.priceColumn
});
Notice how the converter handles not just the type rename, but also the column array type, the enum type and the property mappings—all in one pass. The converter is also context-aware: a ToolStripButton inside a MenuStrip maps to RadMenuItem, but the same ToolStripButton inside a ToolStrip becomes a CommandBarButton. This kind of parent-child awareness is something LLMs consistently get wrong.
The migration follows a divide-and-conquer strategy. The AI agent converts one form at a time—the Designer file first, then the corresponding source file—builds after each pair and fixes any compilation errors before moving on. This keeps the error surface small and helps prevent issues from cascading across the project.

The converter supports various Microsoft WinForms control types including Form, Button, TextBox, ComboBox, DataGridView, TreeView, MenuStrip, ToolStrip, TabControl, SplitContainer and many more. It handles both C# and VB.NET, supports .NET Framework and modern .NET, and offers a dry-run mode so you can preview all changes before they’re applied. Backups (.bak files) are created automatically before any file is modified.
The Numbers
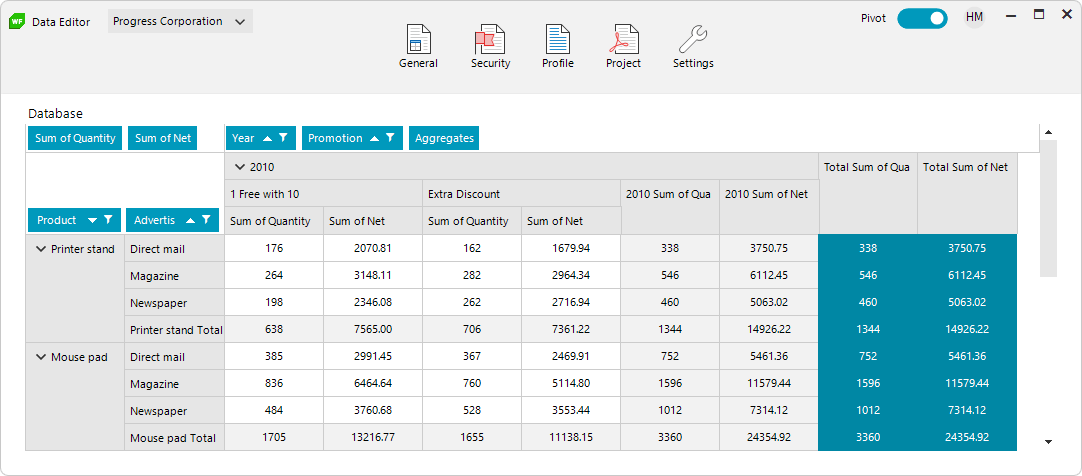
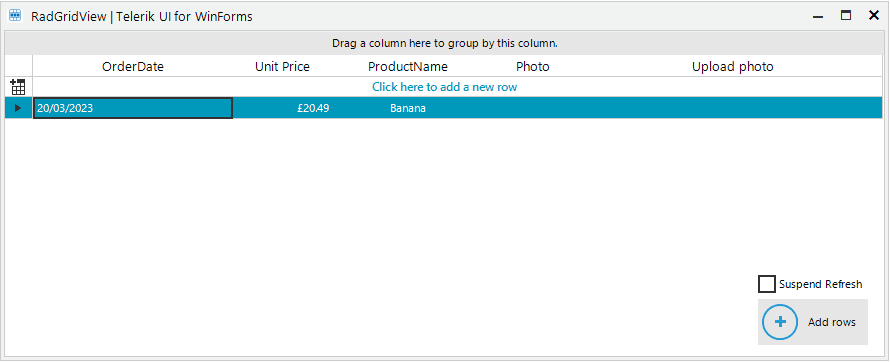
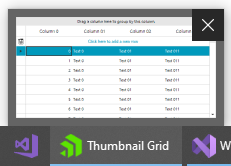
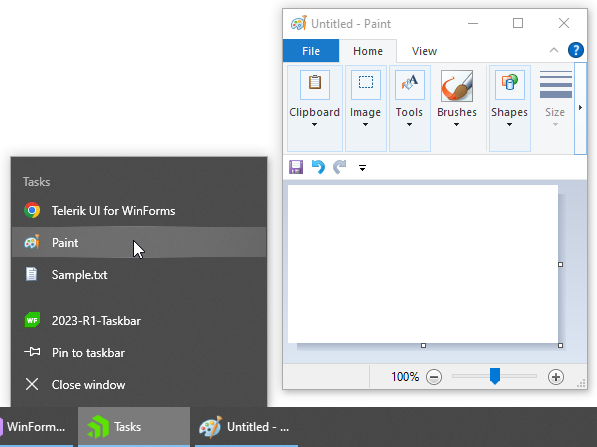
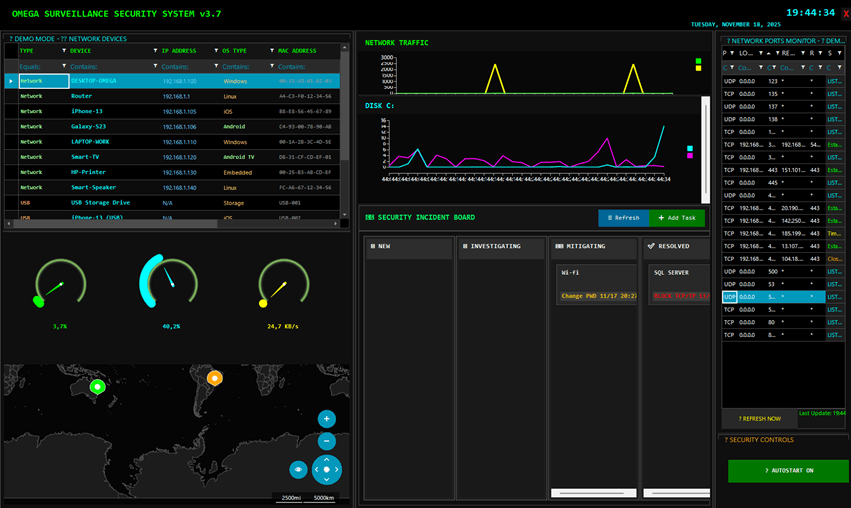
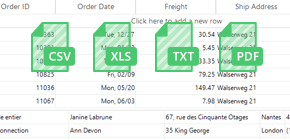
We ran benchmarks with multiple AI models against various applications. Very simple ones and also complex real-world line-of-business apps. The data below shows the results after converting the simple Orders Management application consisting of two screens and several views and screenshotted at the beginning of the blog. ⬆️⬆️⬆️
We did the test harness with Opus 4.6, Sonnet 4.6 and Haiku 4.5. Each tested with and without our MCP tooling on the same sample Orders Management WinForms application.
A few things stand out here.
Output tokens tell the real story. Output tokens are the expensive ones. They cost significantly more than input tokens across all major providers. With MCP and the sample app in question, models generate only ~10K output tokens versus ~48K without. That’s a 4.6x reduction. The reason is straightforward: our converter handles the bulk of the transformation deterministically. The LLM doesn’t need to generate conversion code token-by-token; it just calls our tools and orchestrates the workflow.
Less capable models become fully capable. This is perhaps the most exciting finding. Haiku 4.5—a lightweight, cost-efficient model—can achieve full conversions with our MCP tooling. The same quality as Opus. Without MCP? It managed only 22%, converting just 4 out of 18 controls. Our tooling can level the playing field: you don’t need the most powerful (and expensive) model to get excellent results.
More complete conversions, every time. With MCP, all 18 controls were converted across every model we tested. Without MCP, coverage was variable: models would skip controls, miss designer serialization patterns or leave standard WinForms types untouched. The deterministic nature of our converter means you get consistent, complete results regardless of which model you’re using. Time is also a factor, and our MCP tooling significantly reduces the conversion time.
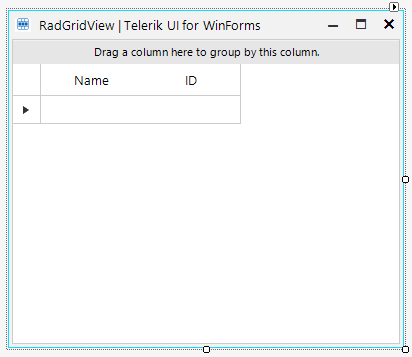
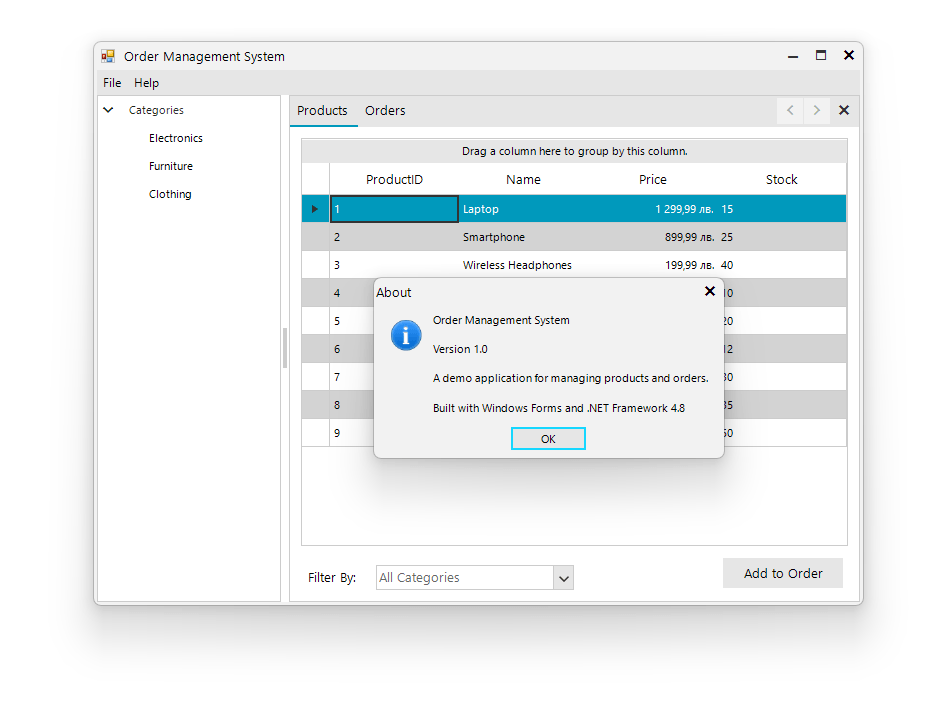
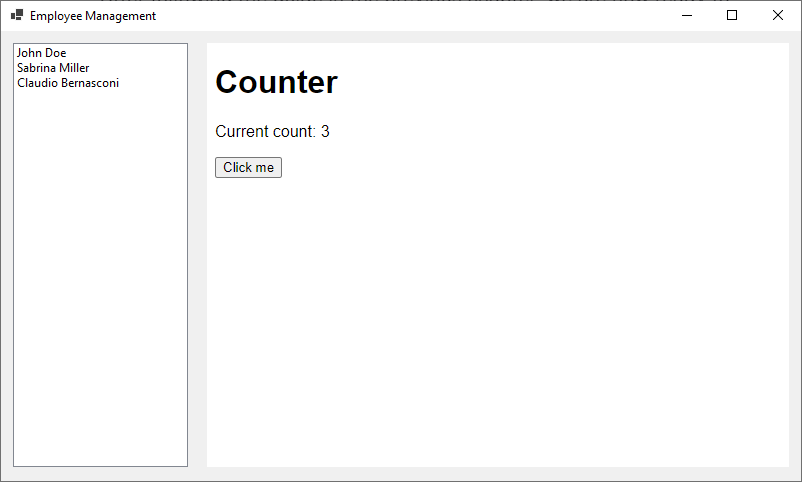
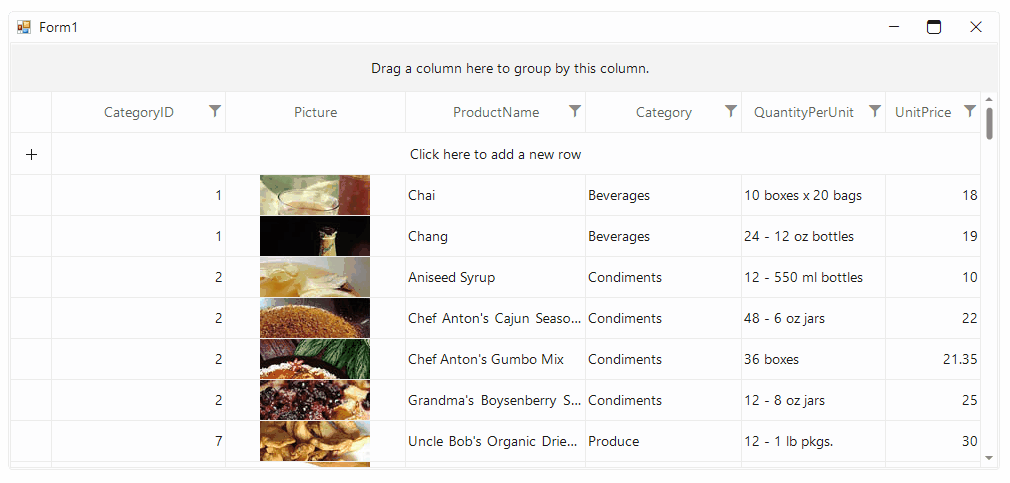
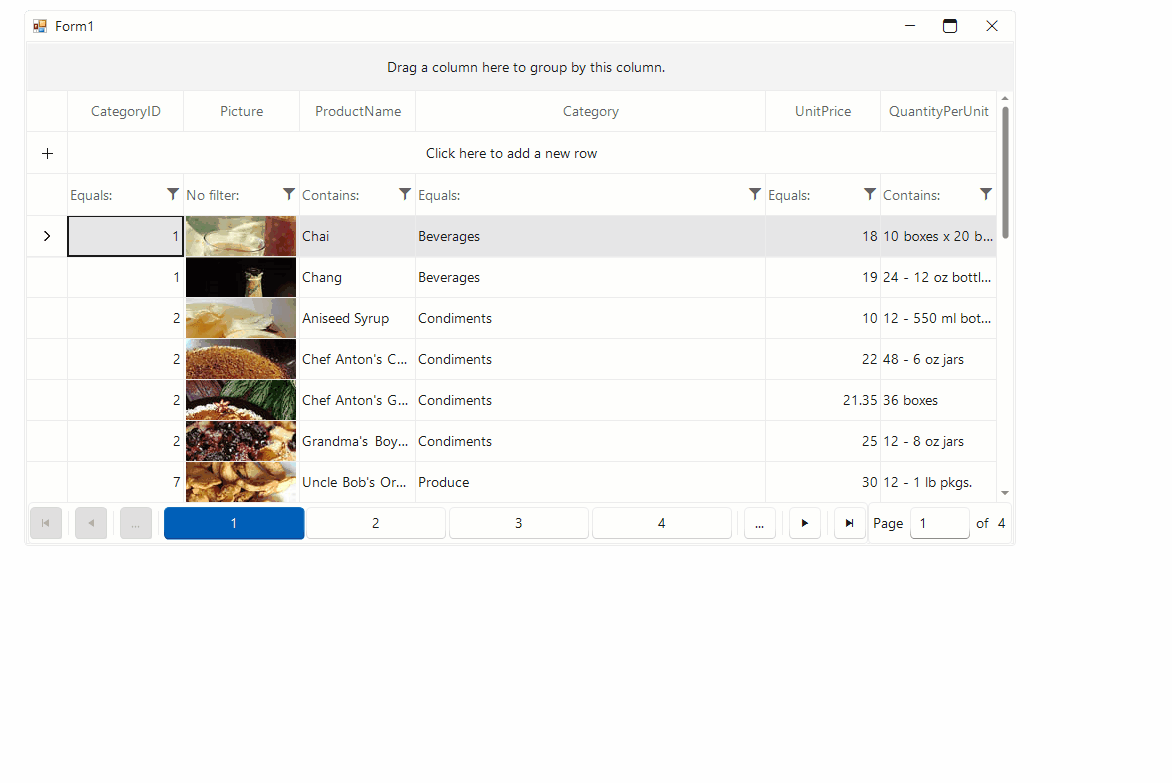
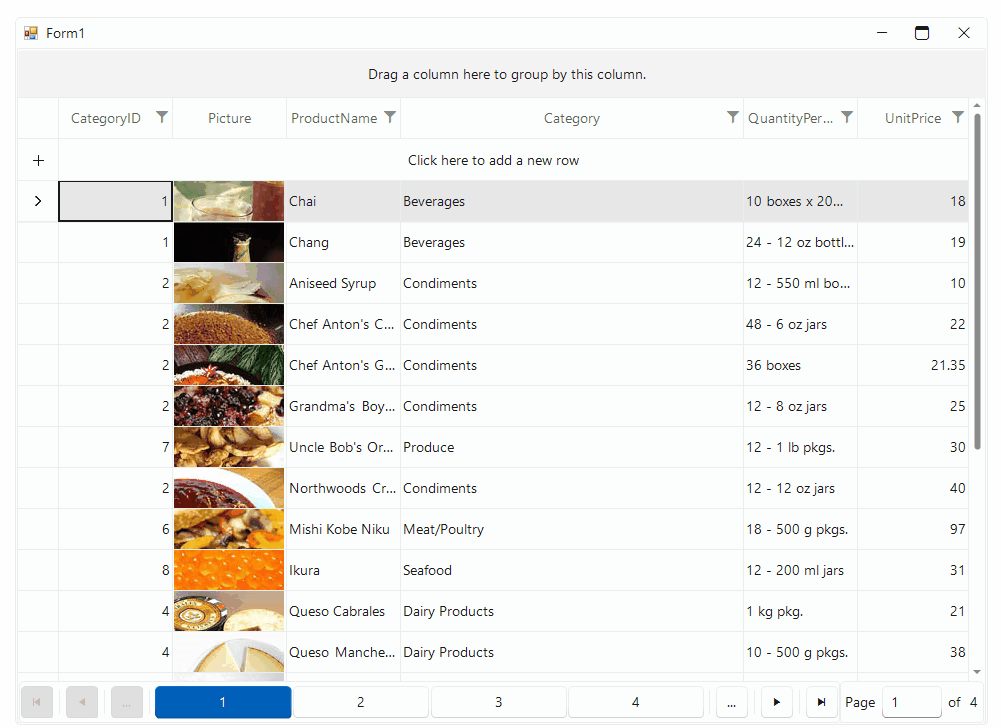
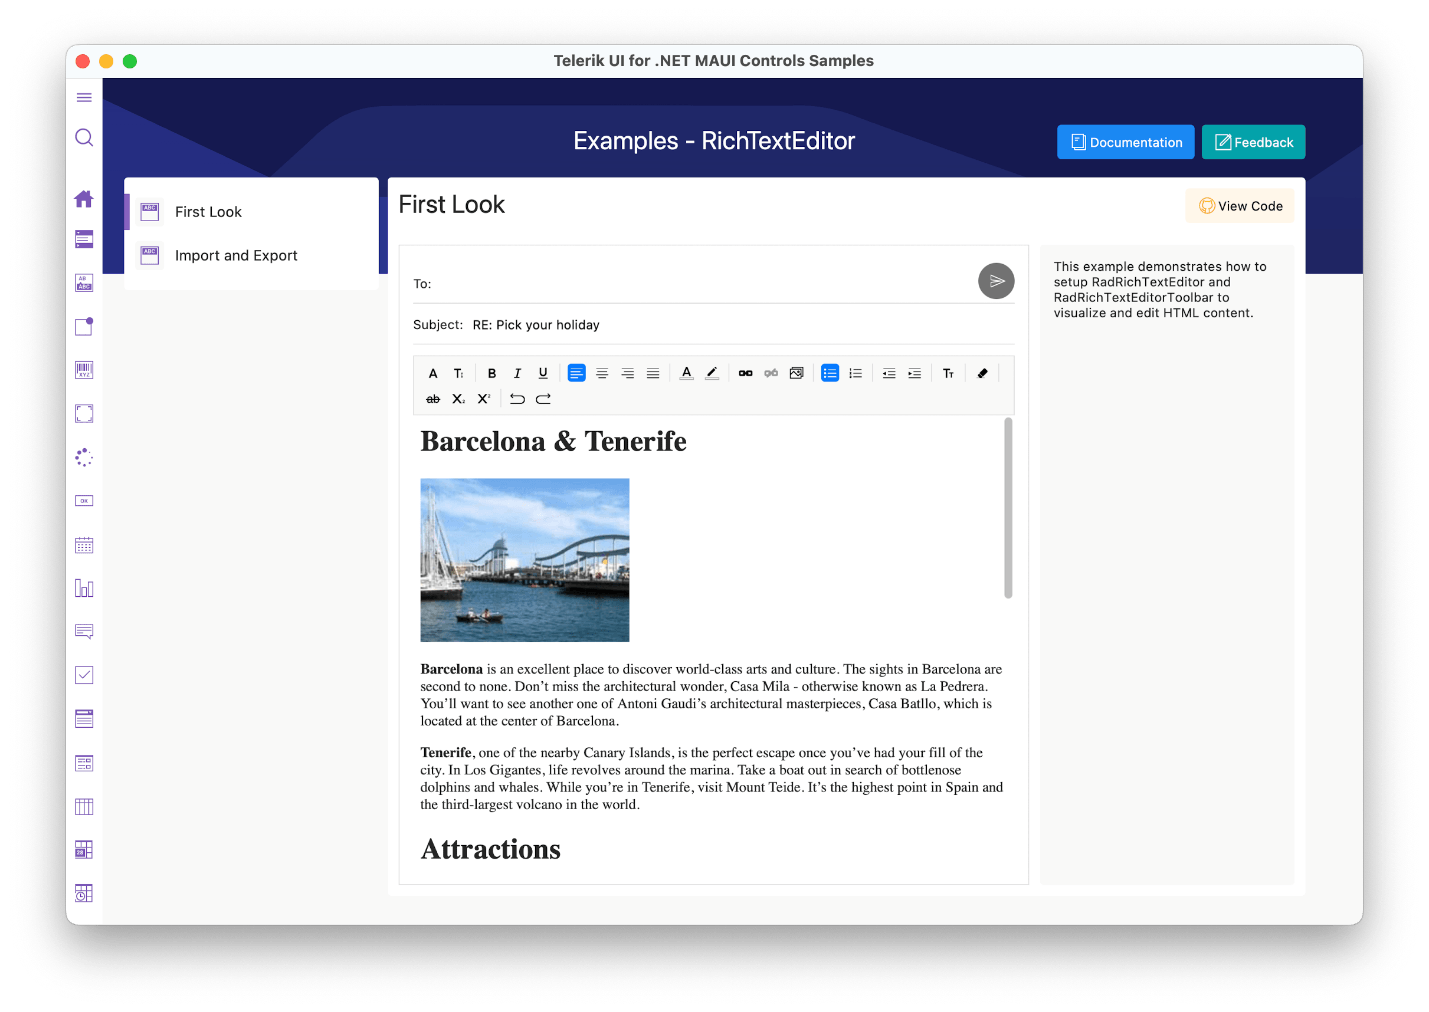
Below is the result after converting the simple Orders Management app. It is fully functional, has the Telerik Fluent theme applied and the whole process only took just couple of minutes.
Deterministic + AI: The Best of Both Worlds
This is where the real value proposition becomes clear. The conversion engine is deterministic—the same input always produces the same output. No hallucinations, no randomness, no guessing. The MCP tools handle the bulk mechanical transformation with great accuracy: type mappings, property translations, enum conversions, namespace additions, designer serialization patterns.
The AI agent’s responsibility is to orchestrate—call the converter tools in the right order, analyze the project structure and then handle what remains. After the converter does its work, the LLM steps in to fix edge cases, resolve compilation errors and adapt to project-specific quirks. For finding Telerik alternatives to removed properties, the agent can also use the telerik_winforms_assistant coding assistant tool that ships with the same MCP Server.
This separation of concerns is key. Our tooling does what tooling does best: deterministic, repeatable, accurate transformations. While the LLM does what LLMs do best: reasoning about context, adapting to the unexpected, making judgment calls. The combination is more reliable than either approach alone.
And it works incrementally. You can migrate your entire project in one go or convert a single form to test the waters. Either way, only the UI layer changes. Your business logic, data access, and service code stay untouched. The Fluent theme is auto-configured, and both .NET Framework 4.8 and modern .NET are fully supported.
Getting Started
Getting up and running takes just a few steps. Add a .mcp.json configuration to your project with the Telerik.WinForms.MCP server enabled. Then open Copilot Chat in Agent mode and pick one of three pre-built prompts:
- Migrate WinForms Project to Telerik – full project migration
- Migrate WinForms Project to Telerik (Dry Run) – preview changes before applying
- Convert Single File to Telerik – convert one file at a time
For the full setup guide and detailed documentation, head to our WinForms converter documentation.
Try It Out
The WinForms Converter is available now as part of the Telerik WinForms MCP Server. Download and try the latest version of Telerik UI for WinForms to explore the converter and all the other features our MCP Server offers.
We’d love to hear how this works for you, so please let us know your thoughts by visiting our Feedback Portal or by leaving a comment below.


.gif?sfvrsn=307bf102_1)