If you’re creating an AI-enabled backend, your users expect an interface that supports working with an AI tool. The Telerik UI for Blazor AIPrompt wraps that all up into a single component.If you’re creating an AI-enabled application, you can, of course, create any frontend for that application that makes sense to your users. But that “makes sense” must take into account your user’s expectations around the kind of user interface that an AI-enabled application should provide—expectations that are set by tools like OpenAI’s ChatGPT client.
Typically, that means supporting an interactive flow that allows the user to evolve through a set of prompts to move from an initial response from your AI-enabled application to a response that better meets the user’s needs. The Progress Telerik AIPrompt component creates that UI in a single component.
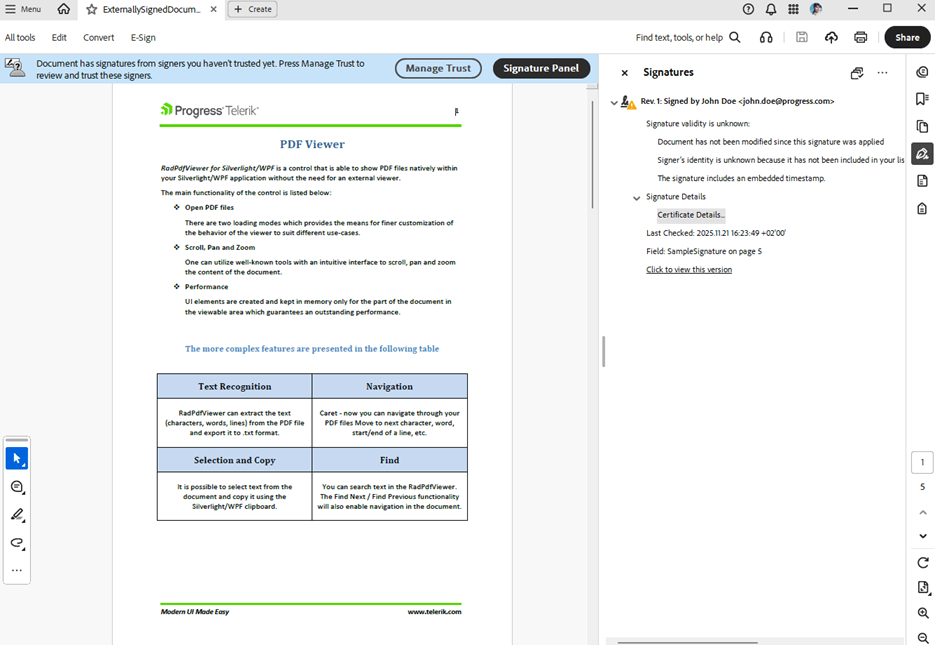
In previous posts, I walked through configuring an LLM in Azure or Ollama, creating content with Telerik Document Processing Library, tying that content to my LLM and leveraging the Telerik DPL AI connectors.
For this post, I’m going to create UI with Telerik AI Prompt for Blazor to let users interact with my custom agent.
My next post will use the JavaScript for Kendo UI version. And, while I won’t be covering them, there are also versions of the AI Prompt component for ASP.NET AJAX, WinForms and .NET MAUI).
Creating the Initial Display
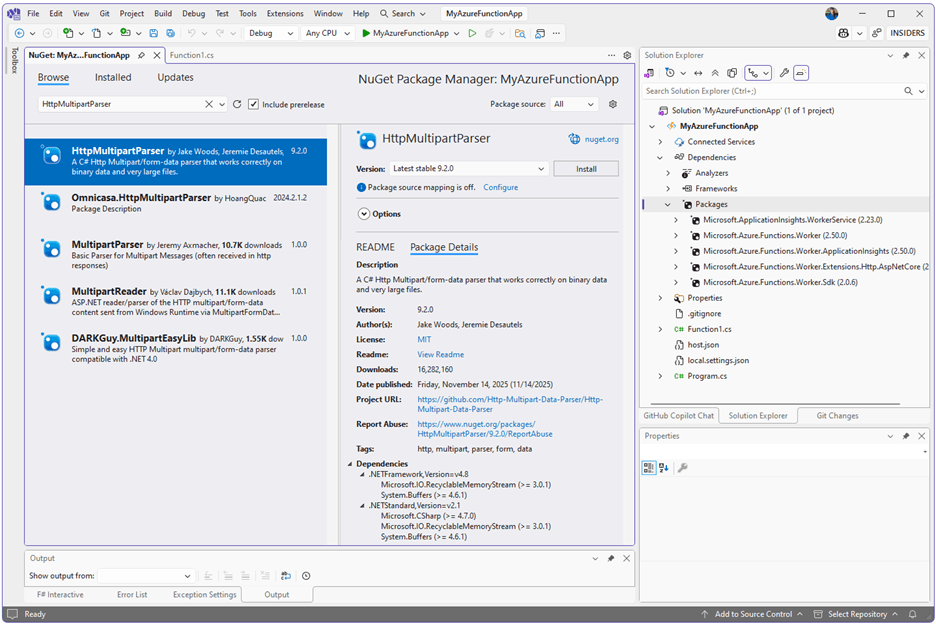
To get started, you’ll need to create a Telerik-enabled application (e.g., for Blazor), adding the Telerik.UI.for.Blazor and Telerik.AI.SmartComponents.Extensions NuGet packages to your application (in addition to the AI and document processing packages I described in my previous posts).
With those in place, you can then add your AIPrompt to your user interface, which can be as simple as this:
<TelerikAIPrompt OnPromptRequest="@HandlePromptRequest">
</TelerikAIPrompt>
Your next step is to write the method in the OnPromptRequest that will be called whenever the user clicks the AIPrompt Generate button (I’ll call this the “prompt method”).
Your prompt method will be passed an AIPromptPromptRequestEventArgs parameter whose Prompt property will contain whatever prompt the user has typed into the AIPrompt textbox.
All you have to do is call your custom agent (I’ve assumed that’s a class called CustomAgent), pass the user’s prompt to whatever method it exposes (I’ve assumed a method called ProcessRequest), and then update the prompt method parameter’s Output property with the result of that processing.
That code could be as simple as this:
private async Task HandlePromptRequest(AIPromptPromptRequestEventArgs args)
{
   private CustomAgent proc = new ();
   args.Output = await proc.ProcessRequest(args.Prompt);
}
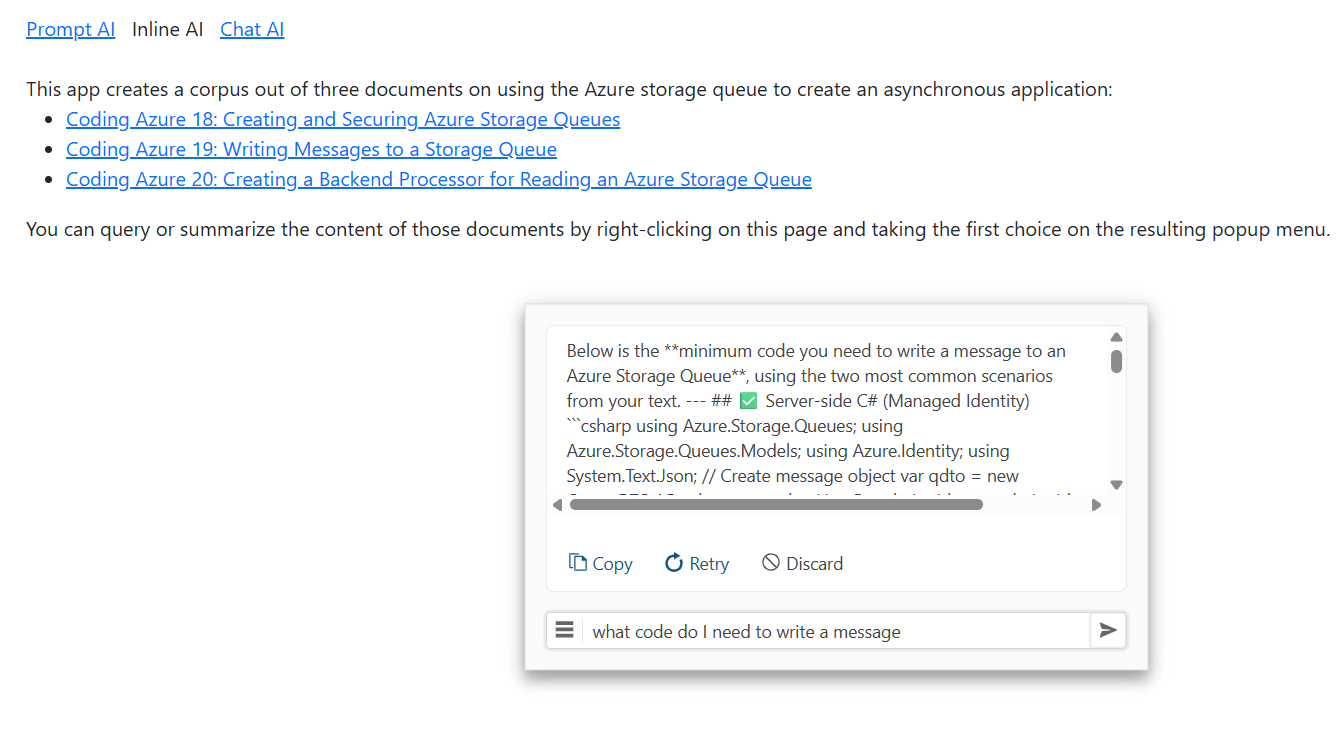
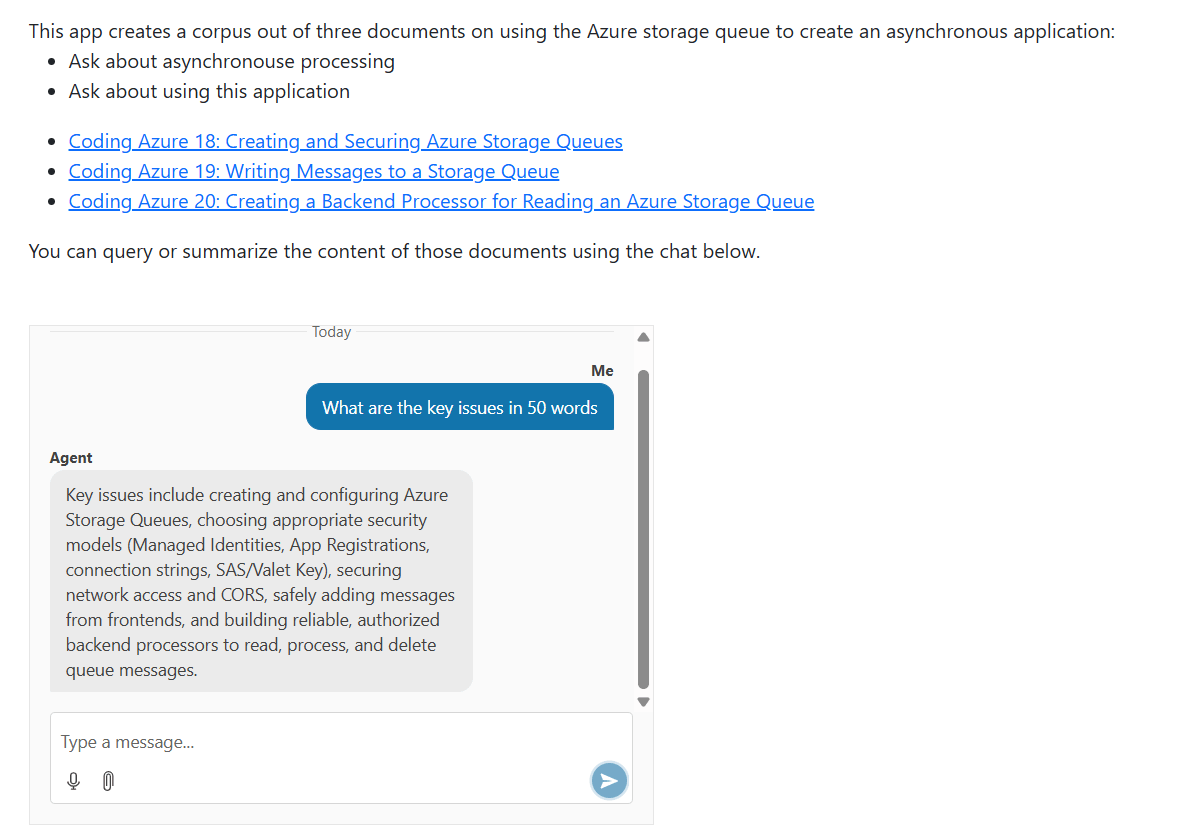
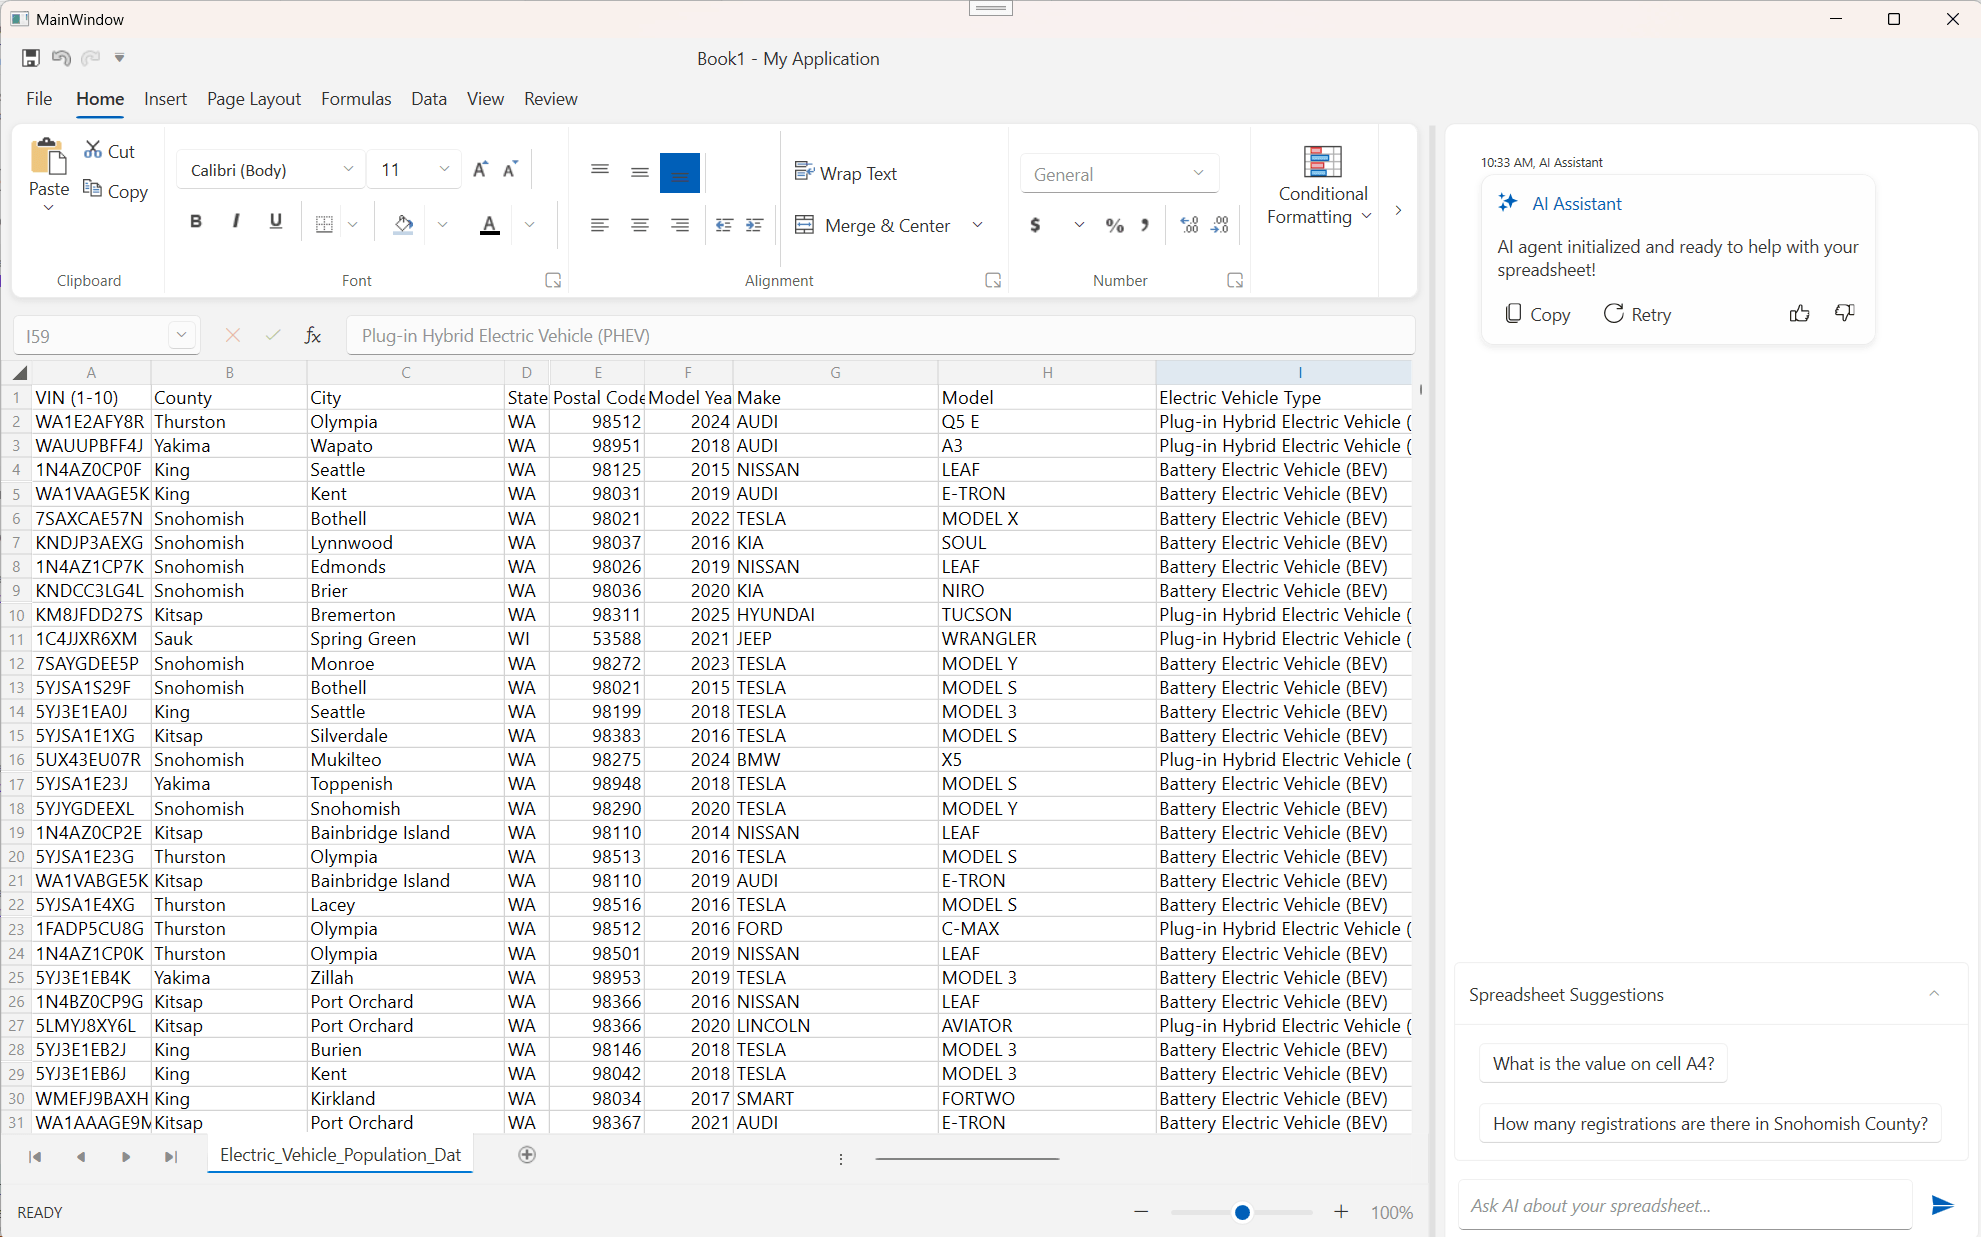
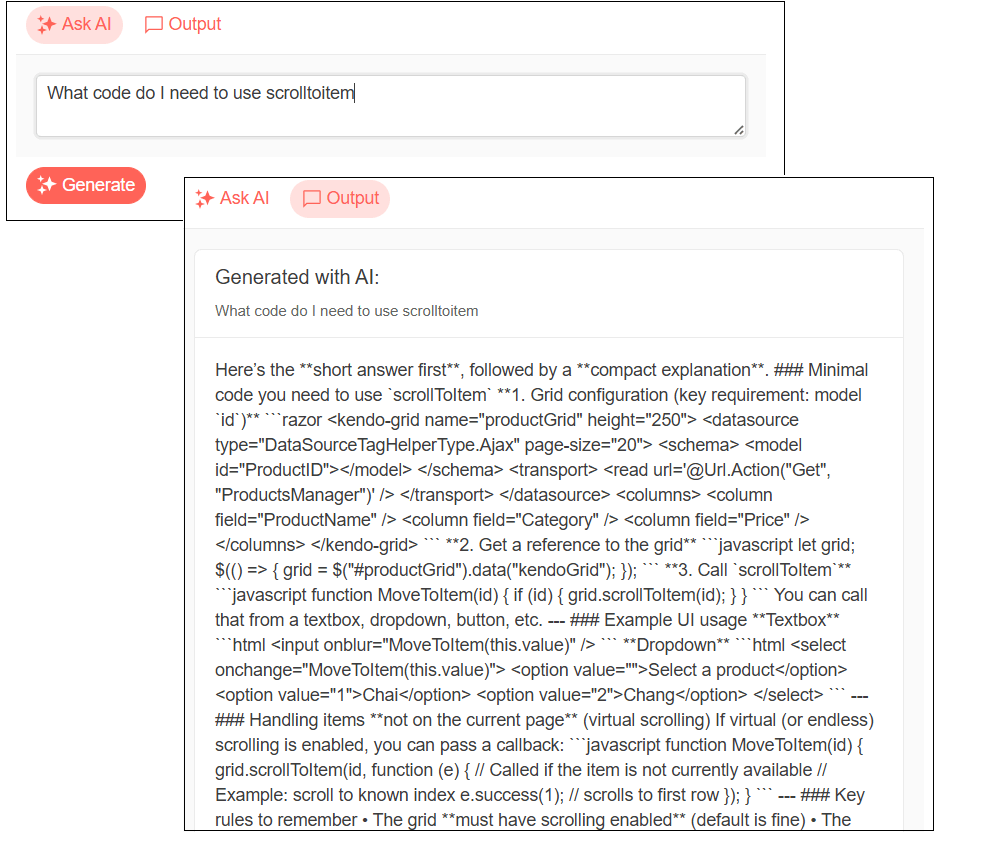
And with that in place, your UI looks like this:
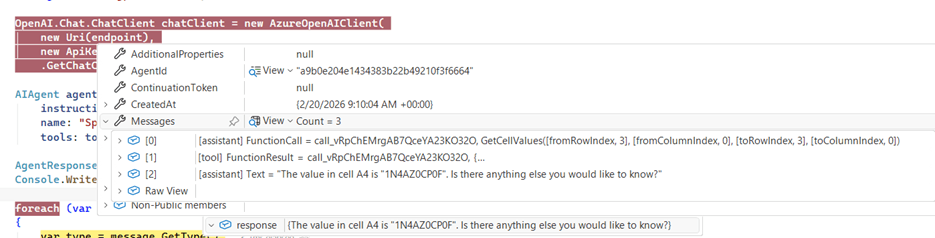
My CustomAgent object’s ProcessRequest method does three things:
- Accesses a Large Language Model (LLM) and creates a chat client to work with it
- Loads some content using tools from Progress Telerik Document Processing Libraries (DPL) to create the agent’s content
- Passes the chat client and content to the Telerik SummarizationProcessor AI connector and returns the result
That code looks like this (I’ve covered it in more detail in my earlier posts):
public async Task<string> ProcessRequest(string prompt)
{
      aiclt = new(new Uri("<LLM deployment name>"),
                             new AzureKeyCredential("<Access Key>");
      chatClt = aiclt.GetChatClient("<LLM deployment name>").AsIChatClient();

     RadFlowDocument rdoc;
     RtfFormatProvider rprov = new();
     using (Stream str = System.IO.File.OpenRead("<path to document>"))
     {
        rdoc = rprov.Import(str, TimeSpan.FromSeconds(10));
     }
     SummarizationProcessorSettings spOpts = new (3500, prompt);
    using (SummarizationProcessor sp = new (chatClt, spOpts))
    {
       return await sp.Summarize(std);
    }
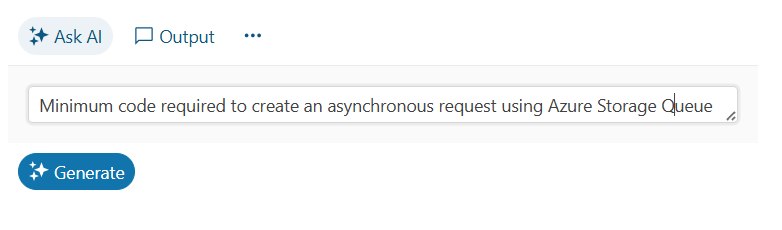
As the user modifies their prompt and generates new responses, AIPrompt automatically provides a history of those responses in its output view. The user can switch between entering a new prompt and reviewing previous responses by clicking on the Ask AI and Output icons at the top of AIPrompt:
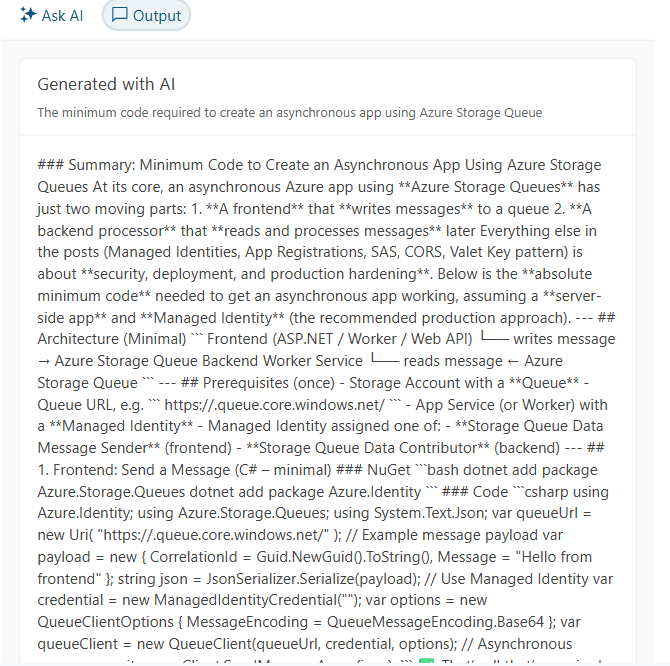
Enhancing the Response
The default UI for your AI processor’s response is probably fine if your LLM is only returning plain text. If, however, your LLM is returning anything that requires formatting (e.g., a bulleted text or, as in my example, code), then you’ll probably want to enhance your display to take advantage of any formatting in your processor’s response.
That requires three steps: Add a custom view to the AIPrompt AIPromptViews, add some Razor markup to that view and convert the output of your LLM to HTML.
AIPrompt has two main views: AIPromptPromptView (where the user types in their prompts) and AIOutputPromptView where AIPrompt displays the history of the user’s interactions. If you want to replace either one of those views, you have to replace both. To modify a view, you just put your own Razor markup inside a ViewTemplateinside the view you want to modify.
For example, to maintain the existing prompt view while customizing the output view, you’d add this markup inside the TelerikAIPrompt component:
<TelerikAIPrompt OnPromptRequest="@HandlePromptRequest">
   <AIPromptViews>

      <AIPromptPromptView ButtonText="Ask AI"
                                                        ButtonIcon="@SvgIcon.Sparkles" />

      <AIPromptOutputView ButtonText=”Output”
                                                      ButtonIcon="@SvgIcon.Comment">
         <ViewTemplate>
    …new Razor markup
</ViewTemplate>
      </AIPromptOutputView>

   </AIPromptViews>
</TelerikAIPrompt>
If all you want to do is display text in your output view, all you need to do is declare a string field in your code to hold your text and display that field in your template. To get an HTML-formatted display of your text, you’ll need to either, in Blazor, cast the field to MarkupString or pass, in ASP.NET, pass the field to the @Html.Raw method.
My case study is in Blazor so my new output view looks like this:
<AIPromptOutputView  ButtonText=”Output”
                                                   ButtonIcon="@SvgIcon.Comment">

   <ViewTemplate>
      @( (MarkupString) output )
   </ViewTemplate>

</AIPromptOutputView>
In Blazor, to get something that Razor’s MarkupString would be happy with, I added the Markdlg NuGet package to my project and used its Markdown class’s ToHtml method to convert my output to HTML. That means that my updated method for handling the user’s prompts looks like this:
string output = string.Empty;

private async Task HandlePromptRequest(AIPromptPromptRequestEventArgs args)
{
   output = string.Empty;
   output = Markdown.ToHtml( await proc.ProcessDocument(prompt) );
}
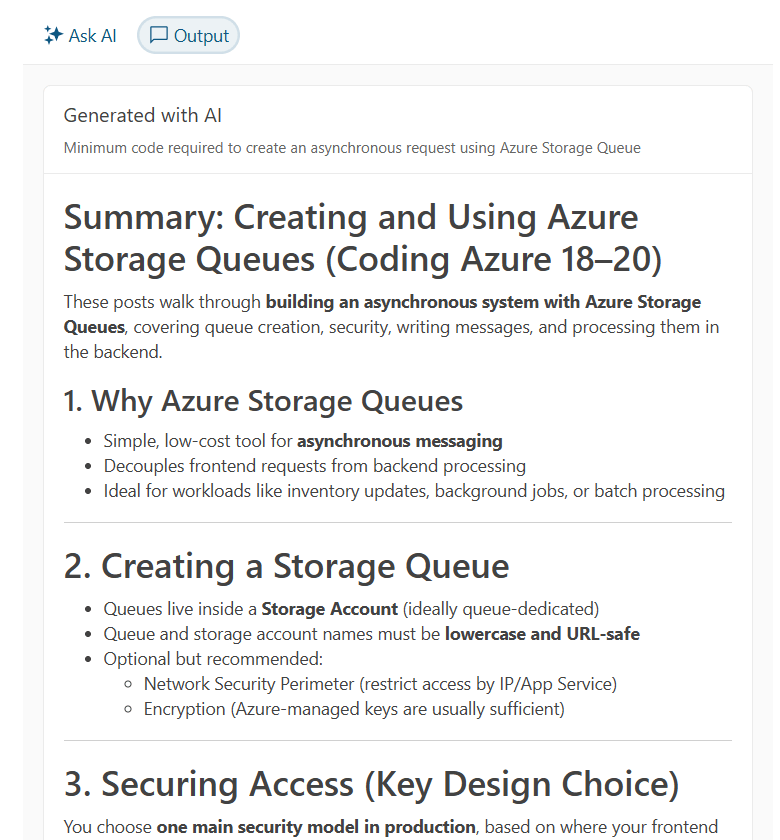
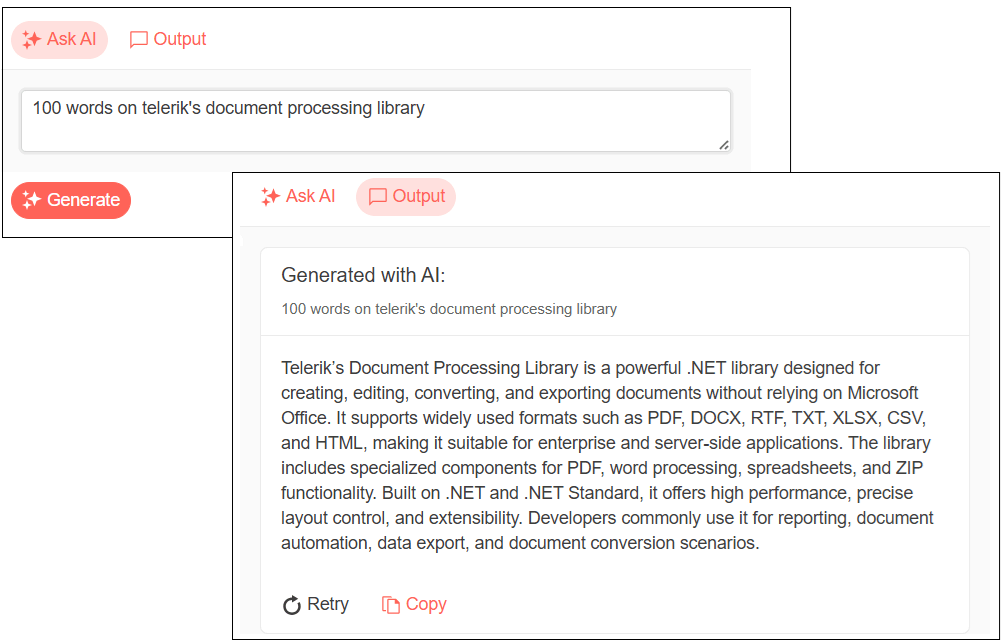
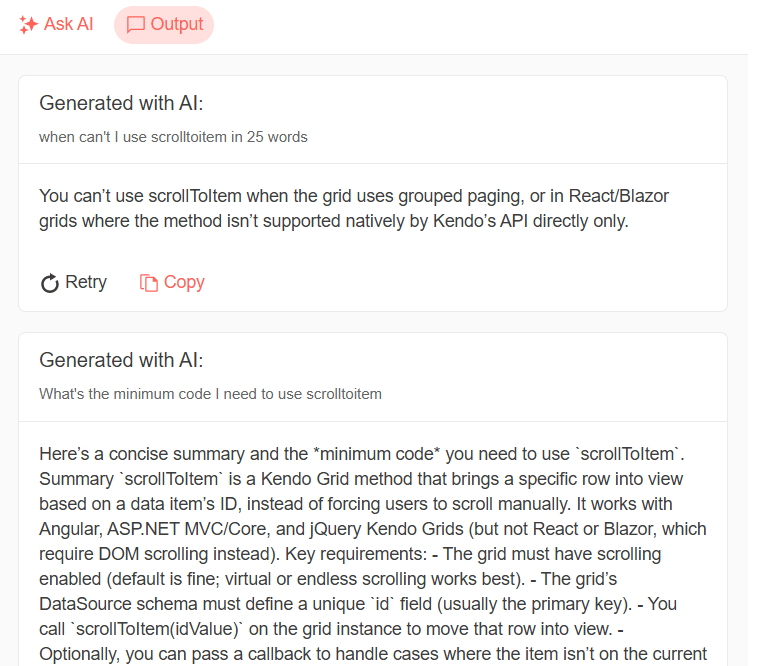
And the result is, in fact, easier for my users to read:
Letting the User Customize Processing
You can also give your user more control over your AI processing either by:
- Setting options on your processor
- Modifying your users’ prompts before turning them over for processing
AIPrompt commands collection lets you use both options.
Defining Commands
For example, in my AI processor, I can let the user:
- Choose between two of the Telerik AI connectors:
CompleteContextQuestionProcessor to ask questions about my agent’s content, or SummarizationProcessor to summarize my agent’s content - When summarizing, specify how much content is returned: terse (under 20 words), normal (under 100 words) and verbose (no limit)
The first step in letting the user customize your processing is to create a List of AIPromptCommandDescriptor objects in a property in your application. For any AIPromptCommandDescriptor, you can set up to five properties (they’re all optional):
- Id: Uniquely identifies a command
- Title: Displayed in AIPrompt UI
- Prompt: Useful when modifying the user’s prompt
- Icon: Displayed in AIPrompt UI
- Children: Subcommands
In the following code, I’ve created a property called Commands and loaded it with two command objects to allow the user to select between asking questions and summarizing content (I added the Telerik SvgIcons NuGet package to my application so that I could use its icons when defining my commands):
private List<AIPromptCommandDescriptor> Commands { get; set; } =
    new List<AIPromptCommandDescriptor>
{
   new AIPromptCommandDescriptor() {
                                         Id = "Ask",
                                         Title = "Ask a question",
                                          Icon = SvgIcon.ZoomIn },
   new AIPromptCommandDescriptor() {
                                          Id = "Summarize",
                                          Title = "Summarize",
                                          Icon = SvgIcon.FontShrink}
};
To let the user select a command, you just need to set two properties on the TelerikAIPrompt:
Commands to the name of the property you created that holds your array of commandsOnCommandExecute to the name of a method that will do any processing when a user selects a command (I’ll call it the “command method”)
The result will look something like this:
<TelerikAIPrompt OnPromptRequest="@HandlePromptRequest"
                                     Commands="@Commands"
                                     OnCommandExecute="@HandleCommandExecute">
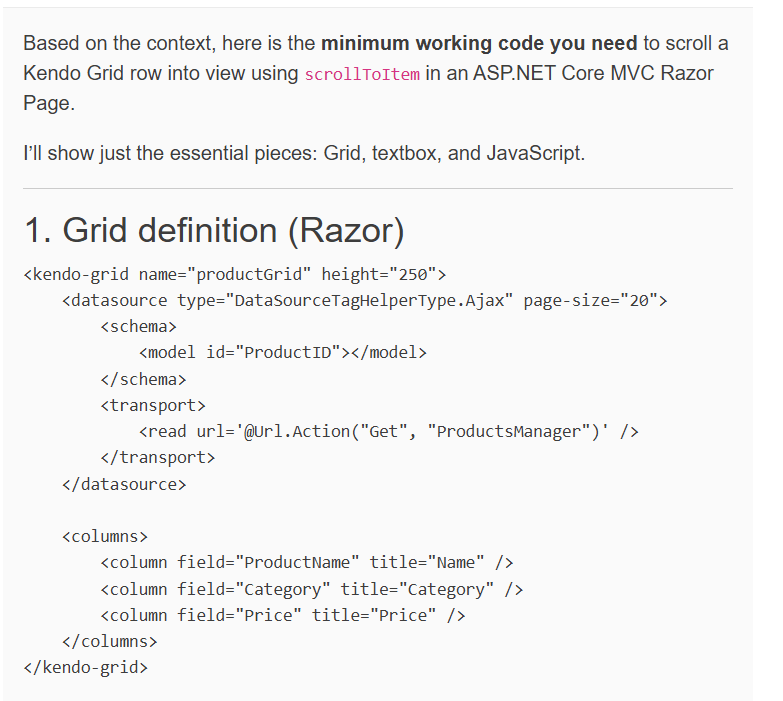
The default UI for AIPrompt provides an overflow menu icon that the user can click to pick one of your commands, so you may not need to do anything more to let users select from your commands.
However, if you’ve customized the AIPrompt views then, to let the user select from your commands, you’ll also need to add an AIPromptCommandViewto the AIPromptViews list, like this one:
<AIPromptViews>
<AIPromptCommandView ButtonIcon="@SvgIcon.MoreVertical" />
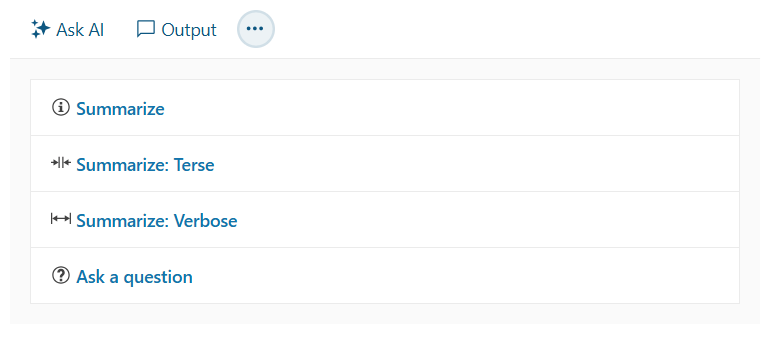
When the user does click on the AIPrompt overflow icon, they’ll get a list of your commands:
Now it’s just a matter of doing the right thing for each command.
Setting Processor Options
When the user clicks on one of your commands, your command method will be called and be passed an AIPromptCommandExecuteEventArgs parameter. That parameter has a Command property that holds whichever command the user selected.
For my application, I can let the user choose between querying the document and summarizing the document just by setting my processor’s Process property.
Cleverly, the two options that my Process property expects match the values I used in the Id properties of my two commands (it’s like I planned it). As a result, my command method just looks like this:
private async void HandleCommandExecute(AIPromptCommandExecuteEventArgs args)
{
   proc.Process = args.Command.Id;
}
Adding Subcommands
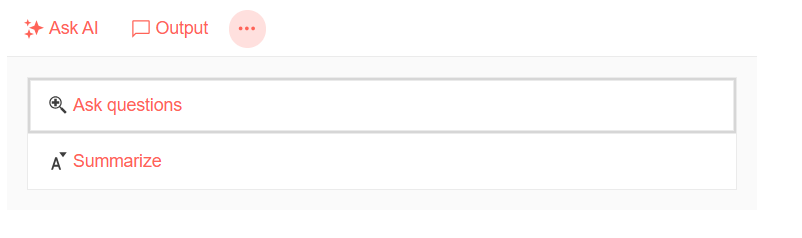
But I might also want to give the user who selects the “summarize” option the ability to select how big a summary they will get. I can incorporate that choice into my commands by setting the command objects’ Children property to a new list of AIPromptCommandDescriptor objects.
To implement that, I add three subcommands to my summarize command: Terse (less than 20 words), Normal (less than 100 words) and Verbose (no word count).
My code looks like this:
private List<AIPromptCommandDescriptor> PromptCommands { get; set; } =
                                                  new List<AIPromptCommandDescriptor>
{
new AIPromptCommandDescriptor() {
                                 Id = "Ask",
                                 Title = "Ask questions",
                                 Icon = SvgIcon.ZoomIn },
new AIPromptCommandDescriptor() {
                                 Id = "Summarize",
                                 Title = "Summarize",
                                 Icon = SvgIcon.FontShrink,
                  Children = new List<AIPromptCommandDescriptor>
   {
       new AIPromptCommandDescriptor() {
                                                          Id = "SummarizeTerse",
                                                          Title = "Terse",
                                                          Prompt=" in less than 20 words"},
        new AIPromptCommandDescriptor() {
                                                          Id = "SummarizeNormal",
                                                          Title = "Normal",
                                                          Prompt=" in less than 100 words"},
new AIPromptCommandDescriptor() {
                                                           Id = "SummarizeVerbose",
                                                           Title = "Verbose",
                                                           Prompt="" }
}
}
};
I’ll handle these subcommands by modifying the user’s prompts.
Modifying Prompt
Not surprisingly, handling these subcommands means my command method gets more complicated. I still want to set the Process option on my processor object but I also want to:
- When the user selects one of the “summarize” subcommands, save the
Prompt property on the command that specifies the word count for a summary. After saving that choice, I can add it to any subsequent prompts the user submits (I created a field summarizeLimit to hold the command’s Prompt property) - Clear the
summarizeLimit when the user selects the Ask option
That new version of the method looks like this:
private string summarizeList = string.Empty;

private async void HandleCommandExecute(AIPromptCommandExecuteEventArgs args)
{
   if (args.Command.Id.StartsWith( "Summarize"))
   {
      proc.Process = "Summarize";
      summarizeLimit = args.Command.Prompt;
   }
   else
   {
      proc.Process = args.Command.Id;
      summarizeLimit = string.Empty;
   }
}
I also need to update my prompt command to see if my summarizeList field has anything in it. If the field does, I’ll add the field’s text to whatever the user has entered as their prompt:
private string prevPrompt = string.Empty;
private async Task HandlePromptRequest(AIPromptPromptRequestEventArgs args)
{
   string innertPrompt = string.Empty;
   if (!string.IsNullOrEmpty(summarizeLimit))
   {
      prevPrompt = args.Prompt;
      innerPrompt += summarizeLimit + ", " + args.Prompt
   }
   else
   {
      innerPrompt = args.Prompt;
   }
   args.Output = Markdown.ToHtml(await proc.ProcessDocument(innerPrompt));
}
As you can see in this code, I’m also hanging onto the user’s initial prompt whenever they’re summarizing content. I’m doing this so that, in the next section, I can demonstrate how to add your own custom output views to the AIPrompt output history.
Displaying Custom Output
AIPrompt also lets me create custom output from anywhere in my code and add that output to the AIPrompt default output view.
I can, in my command method, call my AI processor. However, by default, output created in my command method won’t update the AIPrompt default output view. What I can do in my command view, however, is create some custom output and add that to the AIPrompt default output view.
That can be useful because, if a user selects one of my summarize subcommands, my user might reasonably expect to see their previous prompt re-executed with the new summarize subcommand applied to it.
To do that, I first need to declare a field to reference my AIPrompt:
private TelerikAIPrompt? aiprompt = null;
And then tie that field to my AIPrompt:
<TelerikAIPrompt @ref="aiprompt"
                                     OnPromptRequest="@HandlePromptRequest"
                                     …
Now, in my command method, I can call my processor, pass it my user’s previous prompt (which I saved in my prompt method), apply whatever command the user selected and catch the new result:
proc.Process = "Summarize";
summarizeLimit = args.Command.Prompt;
string result = await proc.ProcessDocument(summarizeLimit + ", " + prevPrompt);
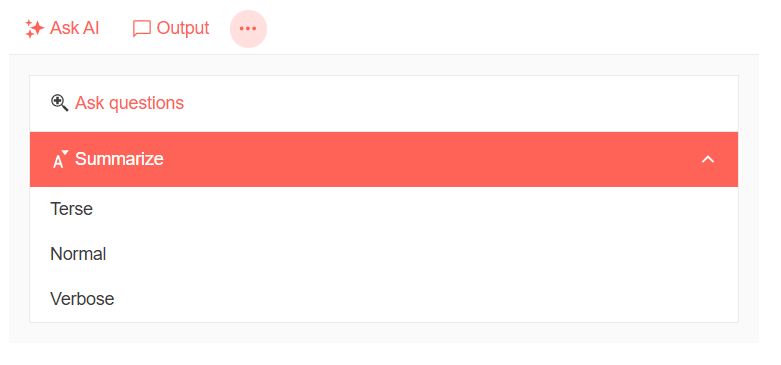
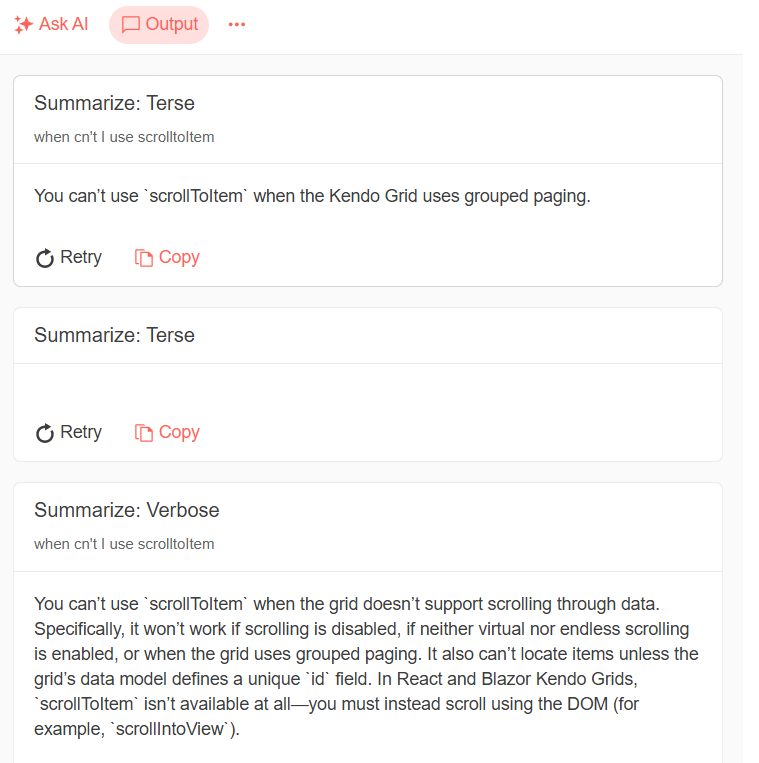
With that new result in hand, I can use my reference to the TelerikAIPrompt component to call the AIPrompt AddOutput method, passing the parameters to generate a new AIPrompt output view.
The AddOutput method accepts up to six parameters, but the primary ones are:
output: The result of your processingtitle: The large text displayed above your resultsubtitle: Some smaller text displayed below the titleprompt: The prompt used to generate the result
After adding my custom output, I then also call the AIPrompt Refresh method to have AIPrompt update its output view with my new result.
Altogether, the code looks like this:
aiprompt.AddOutput(
output: result,
title: "Summarize: " + args.Command.Prompt,
subtitle: string.Empty,
prompt: prevPrompt,
commandId: null,
openOutputView: true);
aiprompt.Refresh();
Providing Suggested Prompts
One last thing: It’s possible that your users may not realize the variety of prompts they can provide to your application. Alternatively, you might want to guide users away from entering some prompts by providing your users with some “approved prompts.” To support either of those goals, AIPrompt lets you provide a list of suggested prompts.
First, you need to create an array of strings with some suggested prompts:
private List<string> Suggestions { get; set; } =
    new List<string>()
   {
      "Summarize in under 100 words, targeting developers",
      "Summarize in under 100 words, targeting project leads",
      "What are the key features",
      "What are the critical steps"
};
To integrate that list of suggested prompts, you just need to set the TelerikAIPrompt component’s PromptSuggestions property to the name of your array of strings:
<TelerikAIPrompt @ref="aiprompt"
 OnPromptRequest="@HandlePromptRequest"
 PromptSuggestions="@Suggestions"
…
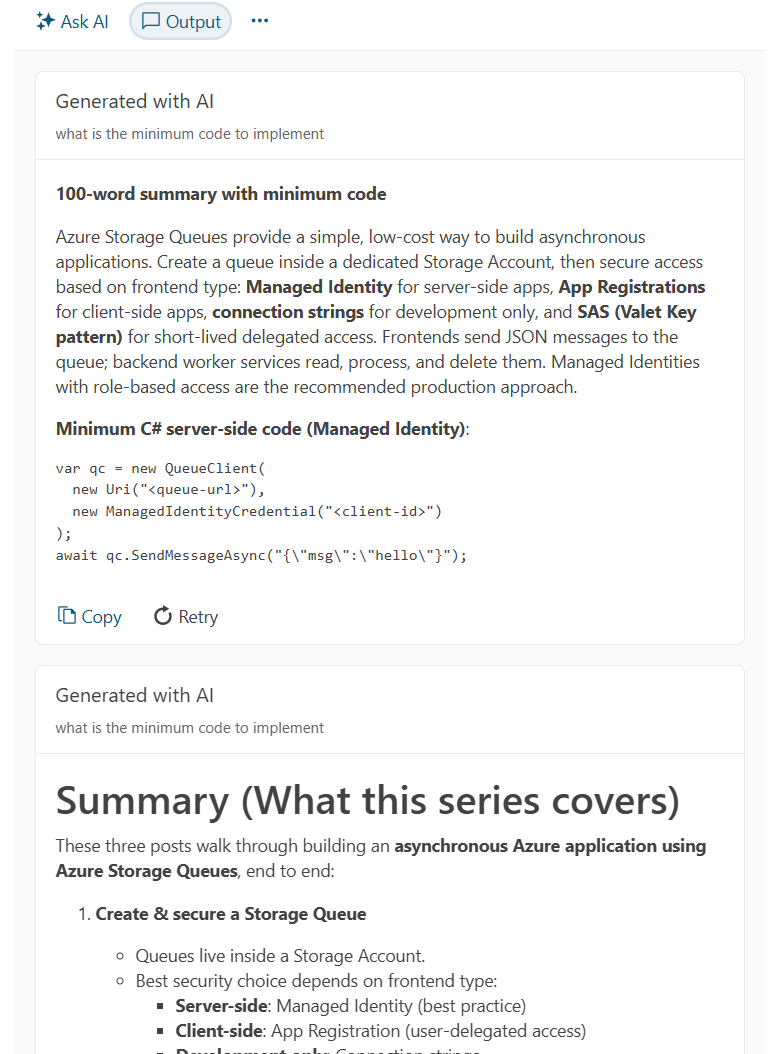
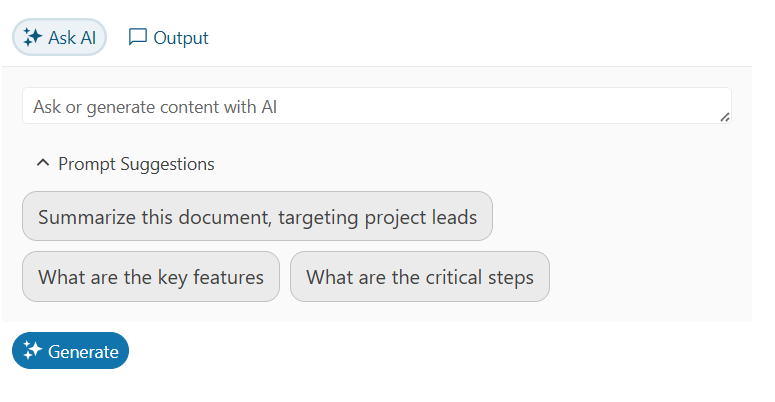
The result looks like this:
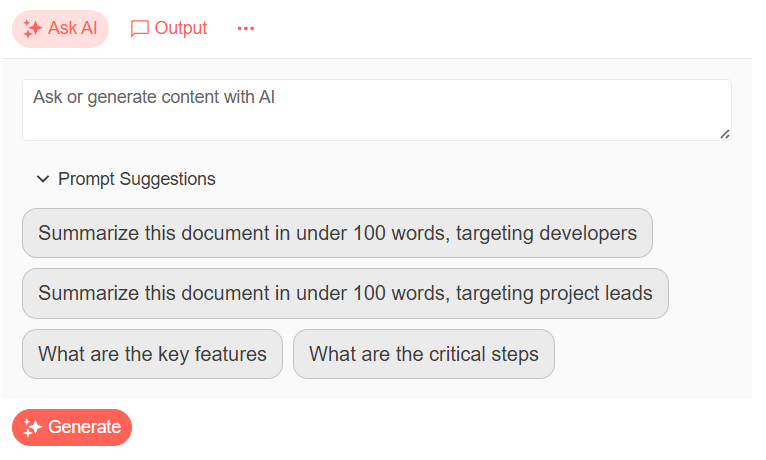
The user can then click on any of these suggestions to add them to the AIPrompt textbox where the user can then edit or modify the suggestion before submitting it as their next prompt. This can also simplify testing—instead of typing in a test prompt, you can just pick one of your suggestions.
You now have all the tools you need to create an application that lets your users leverage your custom AI agent to provide a quick source of information from any content you might want to provide … in Blazor, at least.
In my next post, I’ll move my processor into a web service and access it from the JavaScript version of the AIPrompt component.
Remember, you can get access to all of the Kendo UI and Telerik components in this series with a free 30-day trial of the Telerik DevCraft bundle.
Try Now
 ]]>
]]>